For week 7, we used the Husqavarna Viking machine to sew and embroider a drawstring bag with a custom logo!
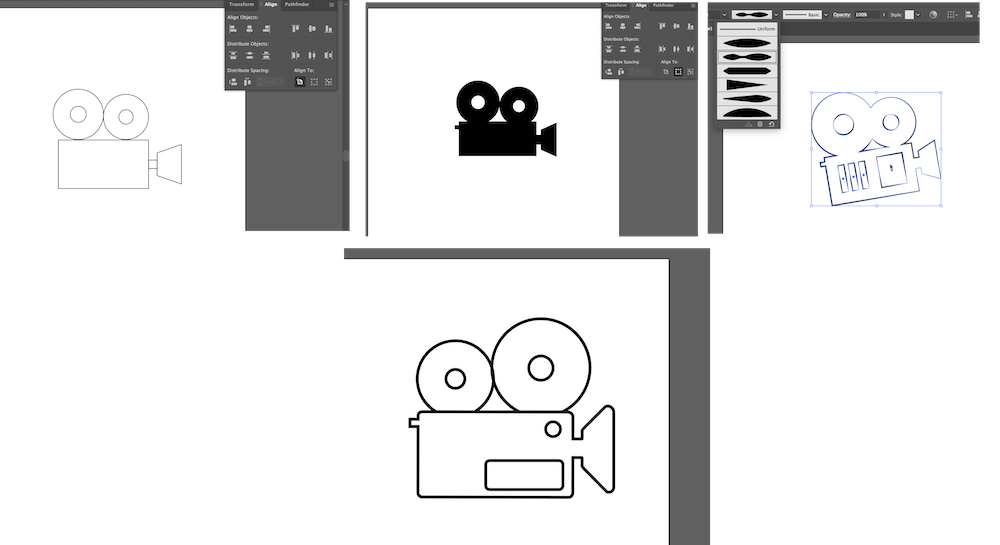
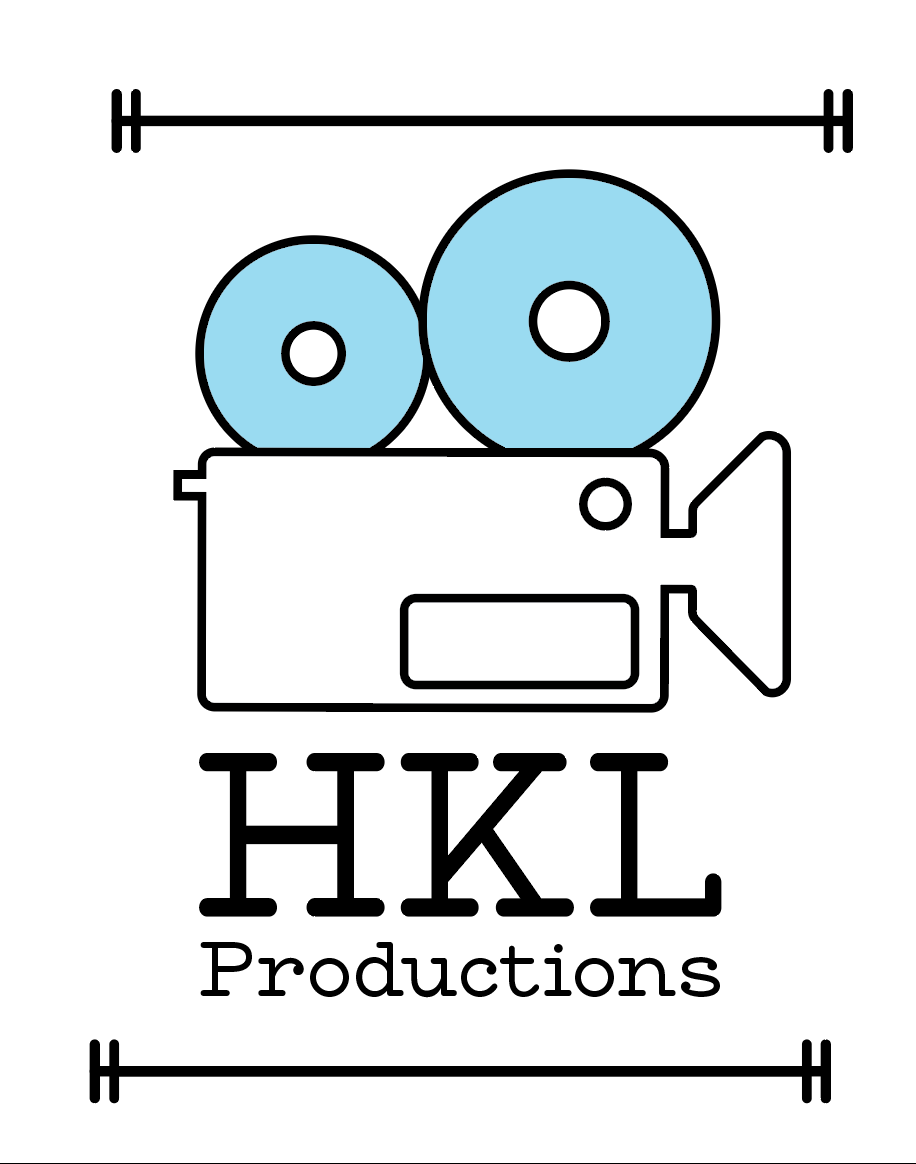
I used Adobe Illustrator to create my custom logo for my bag. I decided to create a fake logo for HKL Productions, and include a video camera line graphic.
I chose this theme since I am a film student, and this logo is something that could be attached to my films! I also, for some reason, love my initials and tend to use them for just about everything!
I sketched out a few ideas for different film related icons, using Google as a reference, and settled with a video camera. I did a very basic shape then experimented with a few different line shapes. I tried out a couple of different designs, and finally narrowed it down to two. I then added color-- blue is my favorite color!--and two bars to act as framing elements.
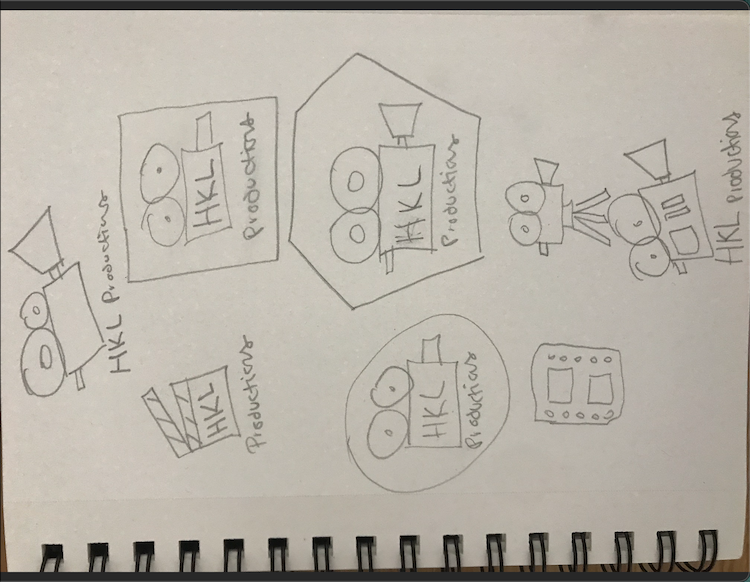
Coming up with a design I liked took a lot of trial and error.

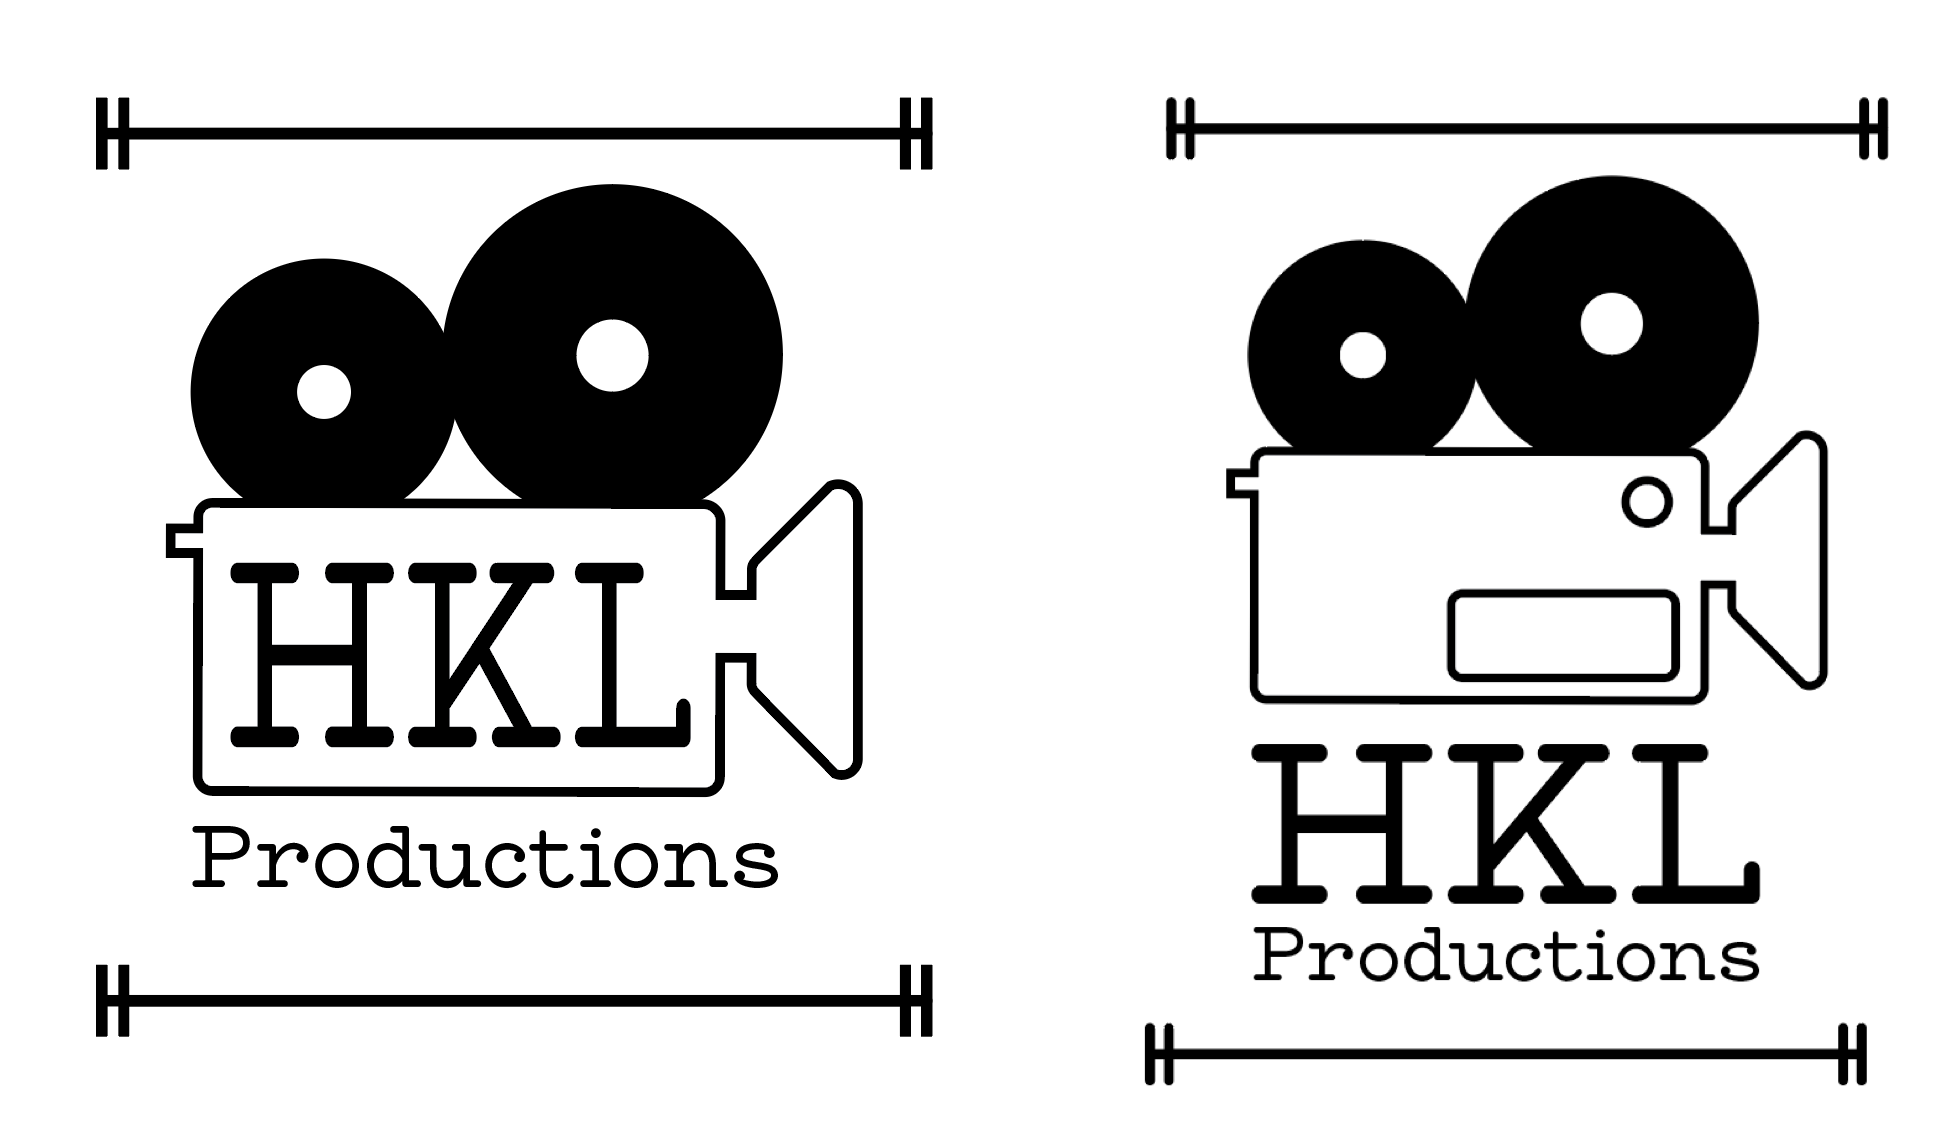
Below is my final design! For my font, I used MADE Waffle Slab Regular, which I downloaded from Urban Fonts. I have always loved the old typewriter style fonts, and this font put a more playful twist on it that I thought matched the vibe I was shooting for.

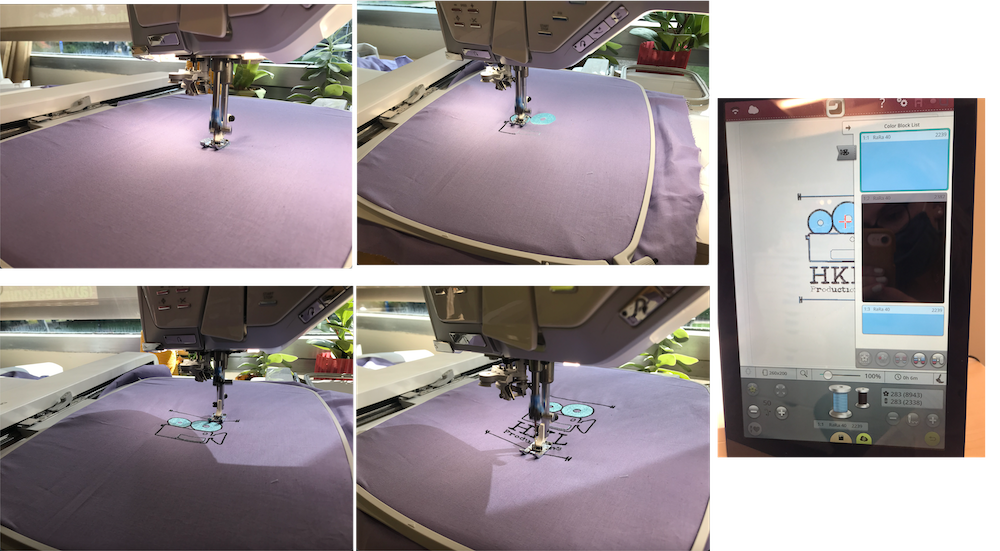
During my training, I embroidered my logo on to a piece of fabric! I uploaded my png design to Premier+, which scanned my file and predicted how it would look embrodiered as well as told me how many different string colors I would need. The initial scan told me 10 colors - but I narrowed it down to 2. Next, from Premier+, I sent my file to the machine. The machine itself has a bounty of designs and texts that you can use right from the machine! It took me a few tries to get my top thread correctly in the machine, but eventually got the hang of it! For my thread and bobbin, I used a pretty light blue shade, and then black for the line work and text. It was impressive watching the machine go to work! I only had to change the string color once, and otherwise I just sat back and watched the machine do its thing!
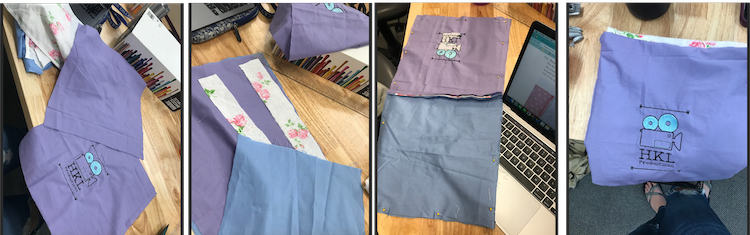
This was by far the most involved and difficult part of any project, besides the shaper, I have done so far. I followed an online tutorial that was supposedly straightforward, but had plenty of unfamiliar sewing terms that confused me. I grabbed three different fabrics from the bin in the Fab Lab, purple for the outside, blue for the lining, and a rose pattern for the string slot. After cutting to size, I followed the tutorial and sewed when necessary. The actual sewing was not terribly tricky, but took me a little while to get comfortable with.
Bella was so incredibly helpful and experienced with sewing and I couldn't have done it without her! And her shirt matched my bag, making her a perfect model to show it off!
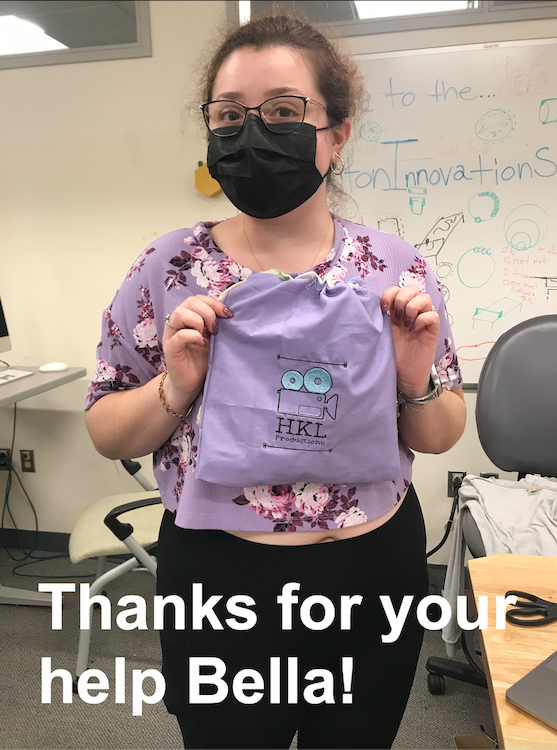
As someone who has never successfully used a sewing machine, this week was very difficult. My lines were super crooked and jagged, and I asked the Fab Lab staff a lot of questions about sewing basics. The tutorial also was very hard to follow, and even with two sets of eyes and following it to a tee, for some reason my string slots were on the inside of the bag. I have gone back through multiple times and can't seem to figure out where I went wrong! Regardless of the slight discrepencies between my bag and the tutorial, the finished result was super cute, and the logo was so cool!