
A vinyl cutter is one of the most underappreciated machines in most fabrication labs. It's position as a "digital fabrication" tool has been argued over. I don't truly understand the argument against it. It combines technology and digital tools (the cutter itself which relies on digital data files to cut into the vinyl) to create a physical product. The transfer of the digital design into something physical is what gives the vinyl cutter its label as a digital fabrication tool.
I made my design using Adobe Illustrator. After running through a bunch of ideas, I settled with the quote "I have a crystal for that" with a sinmple gemstone graphic.I am a huge lover of crystals, and a strong believer in their metaphysical powers! I saw this quote on Instagram and loved it.
I grabbed an L, white, t-shirt from the Fab Lab, and measured a 12in by 12in area. In Illustrator, I created a new project with a 12x12 size.
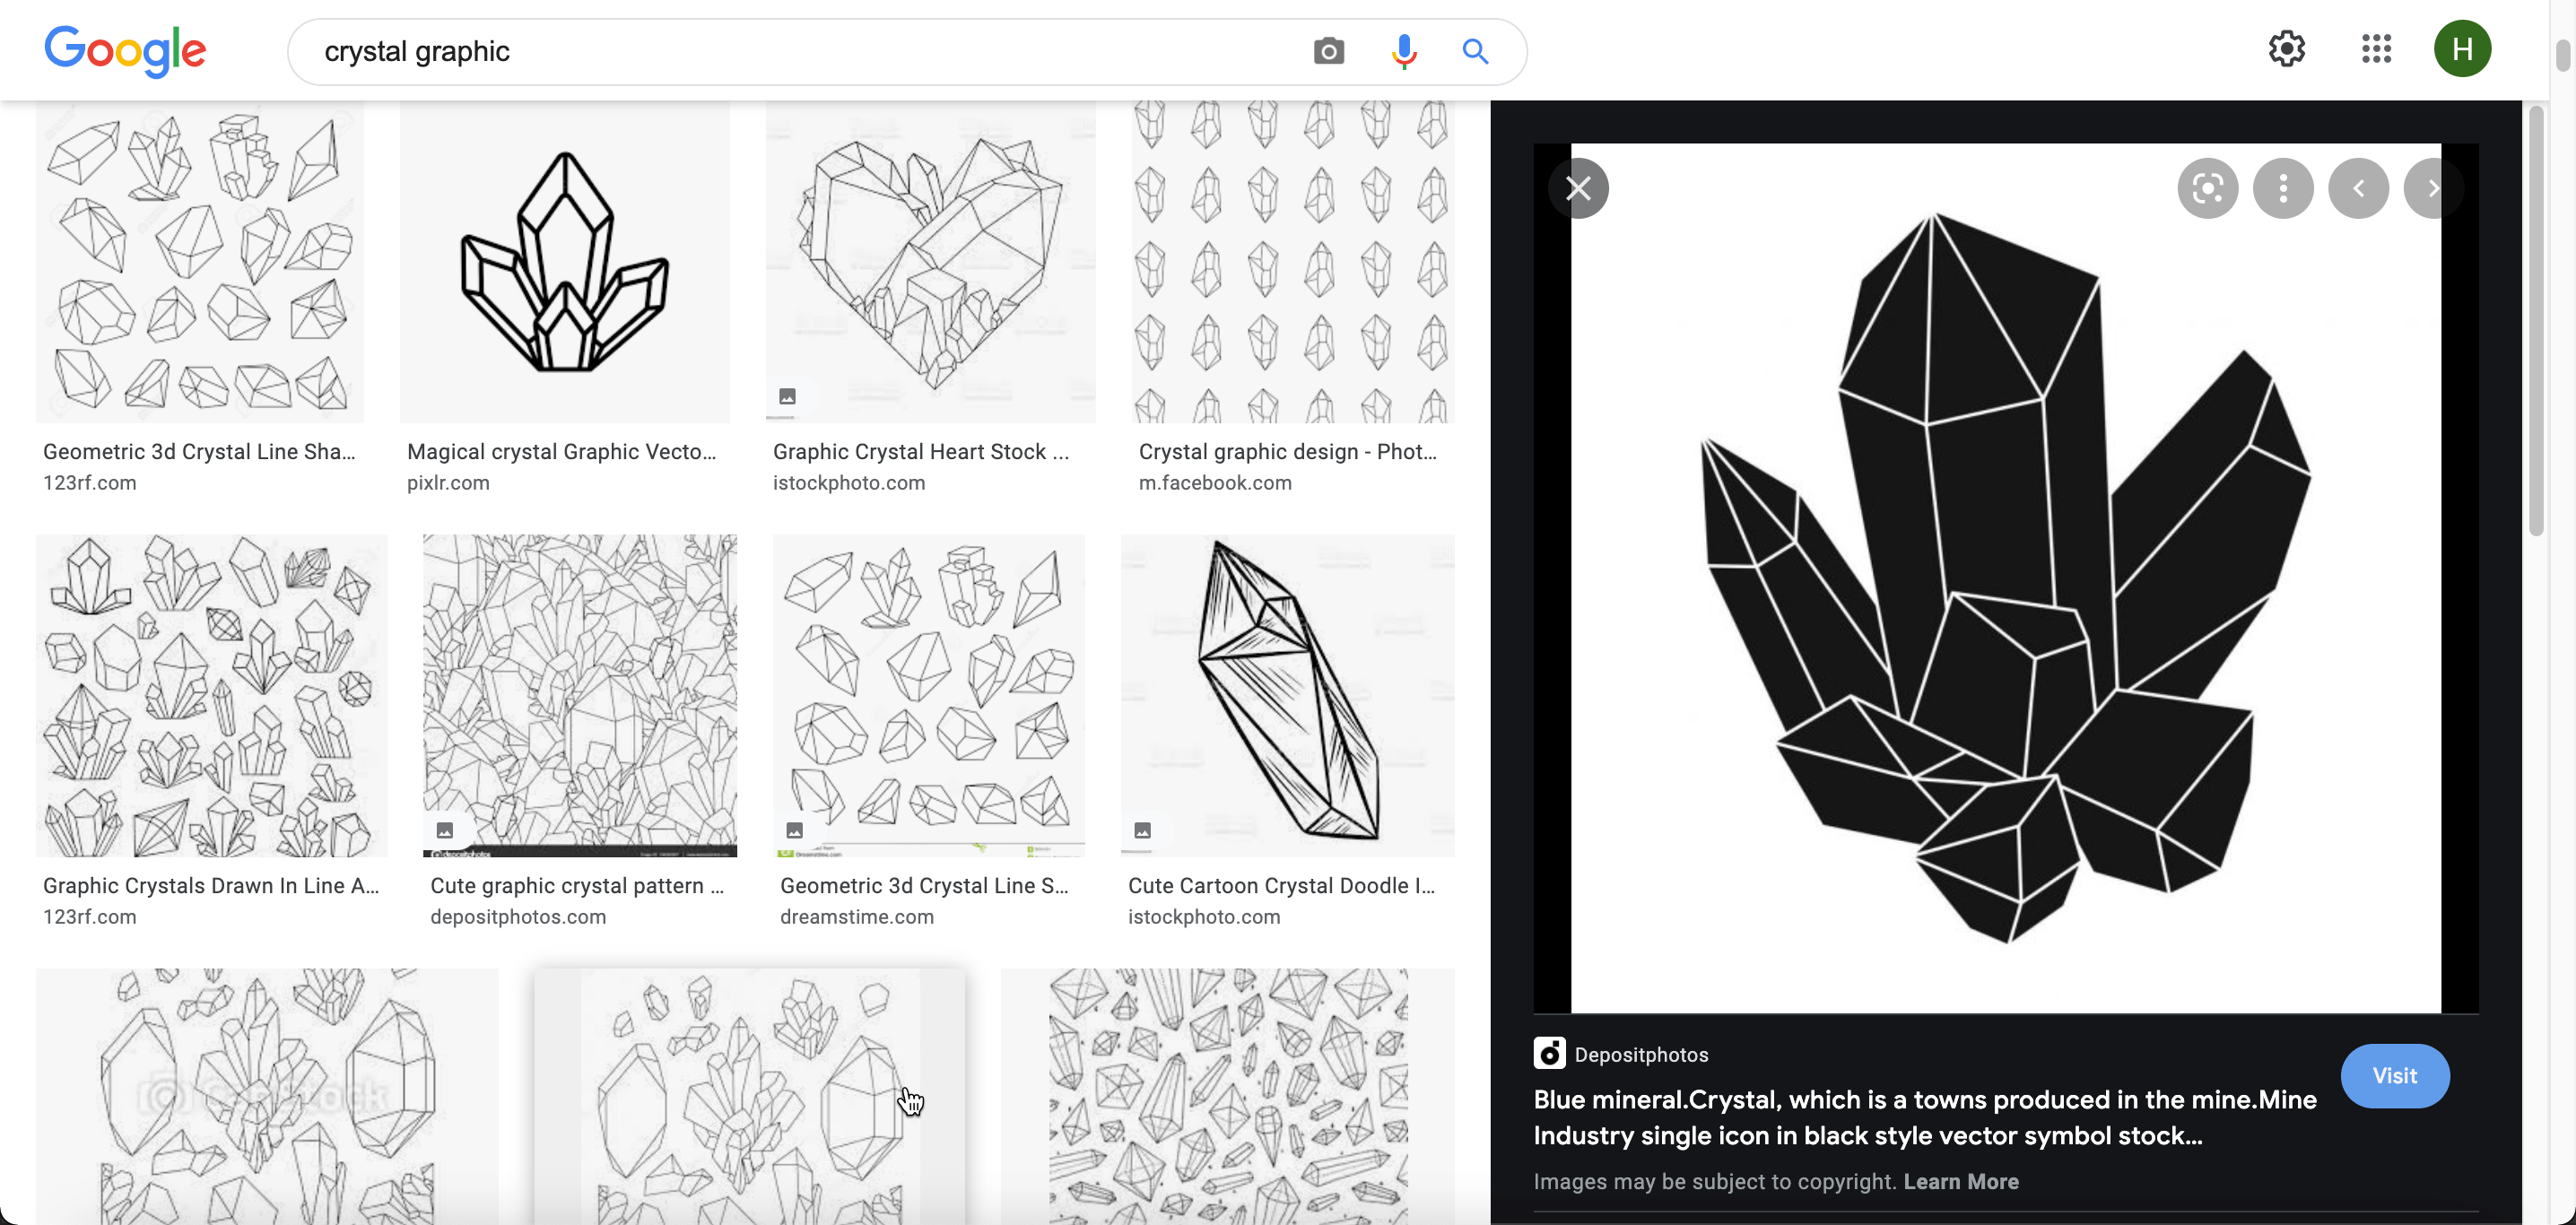
I found my graphic on Google and downloaded the image then opened it in my Illustrator project.
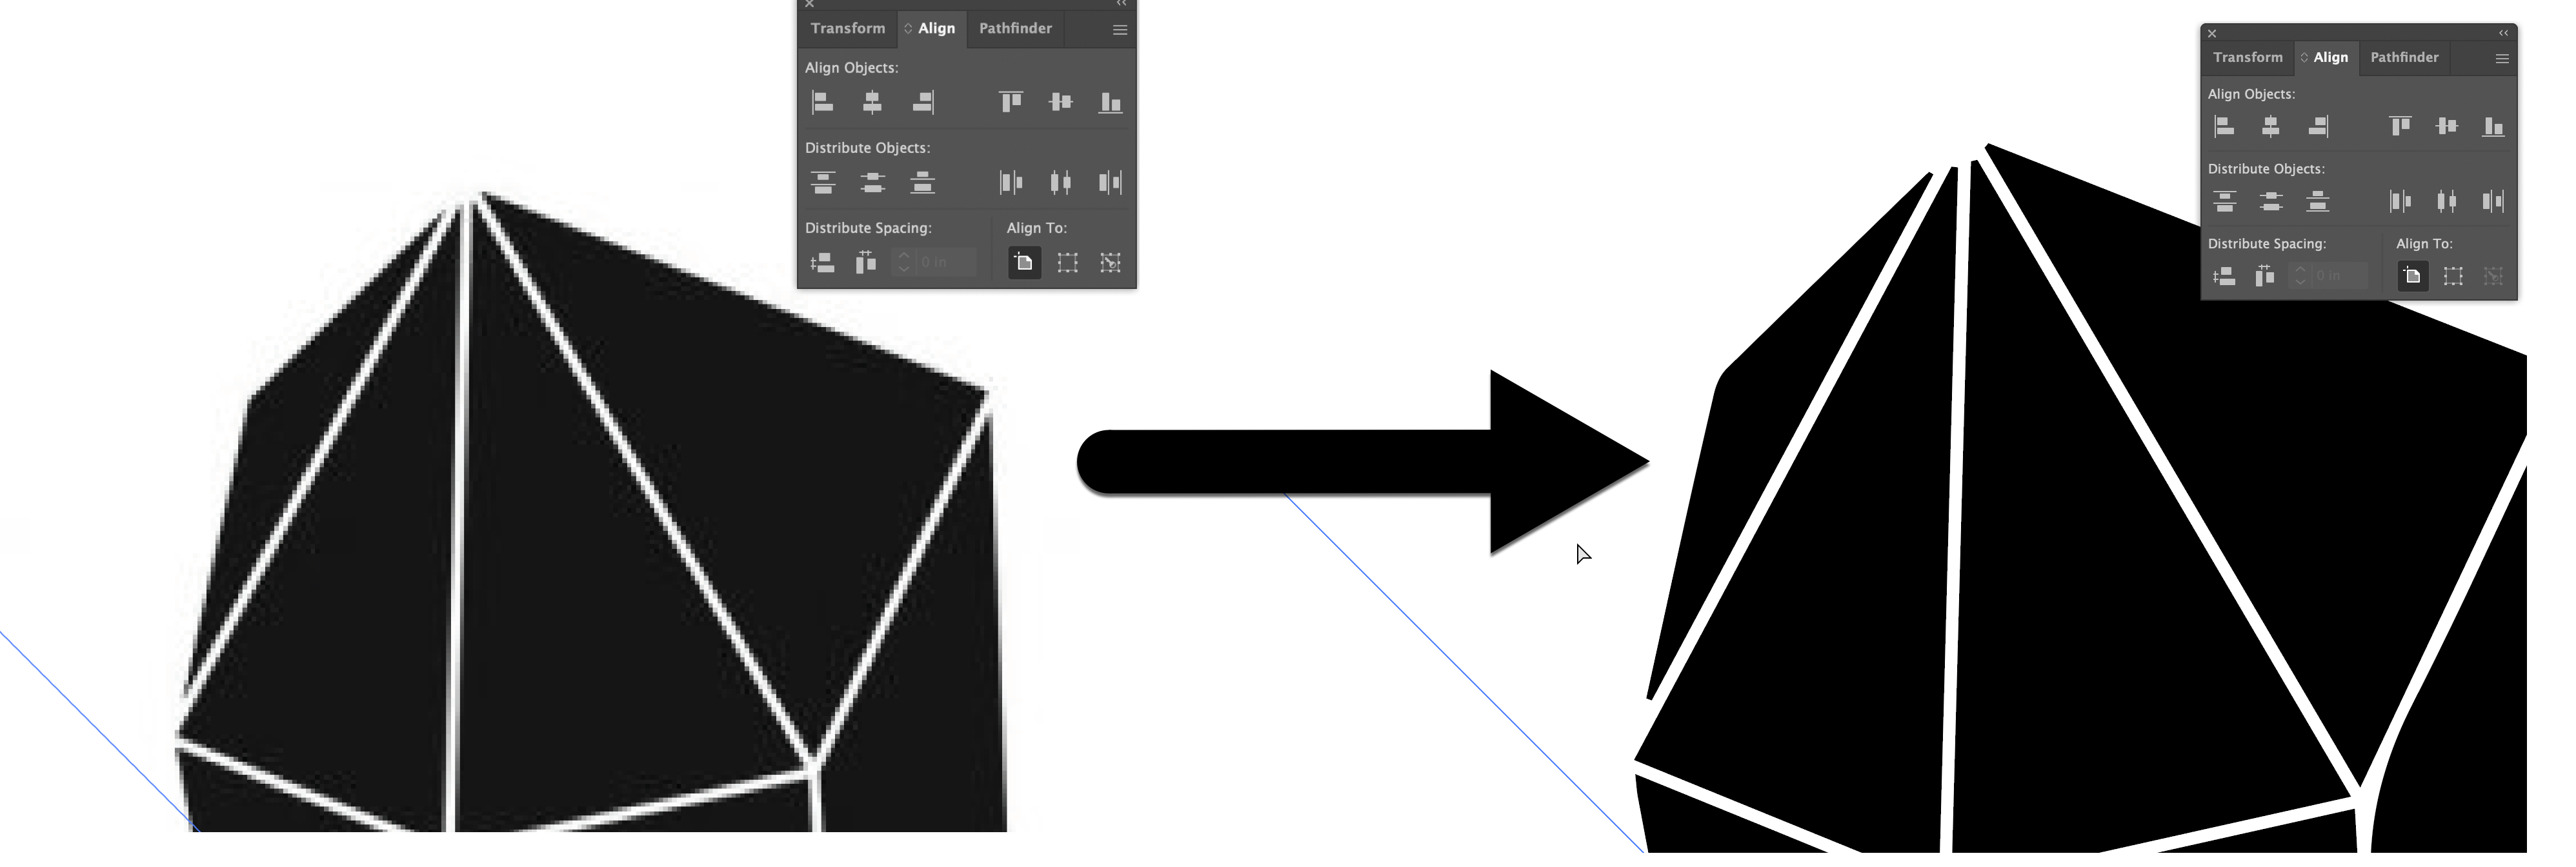
The initial image from Google was a raster image, which is pixel based and has a specified quality. I used Illutstrator's image trace tool to vectorize the graphic. Vector images are math based, and can be resized without a loss of quality!
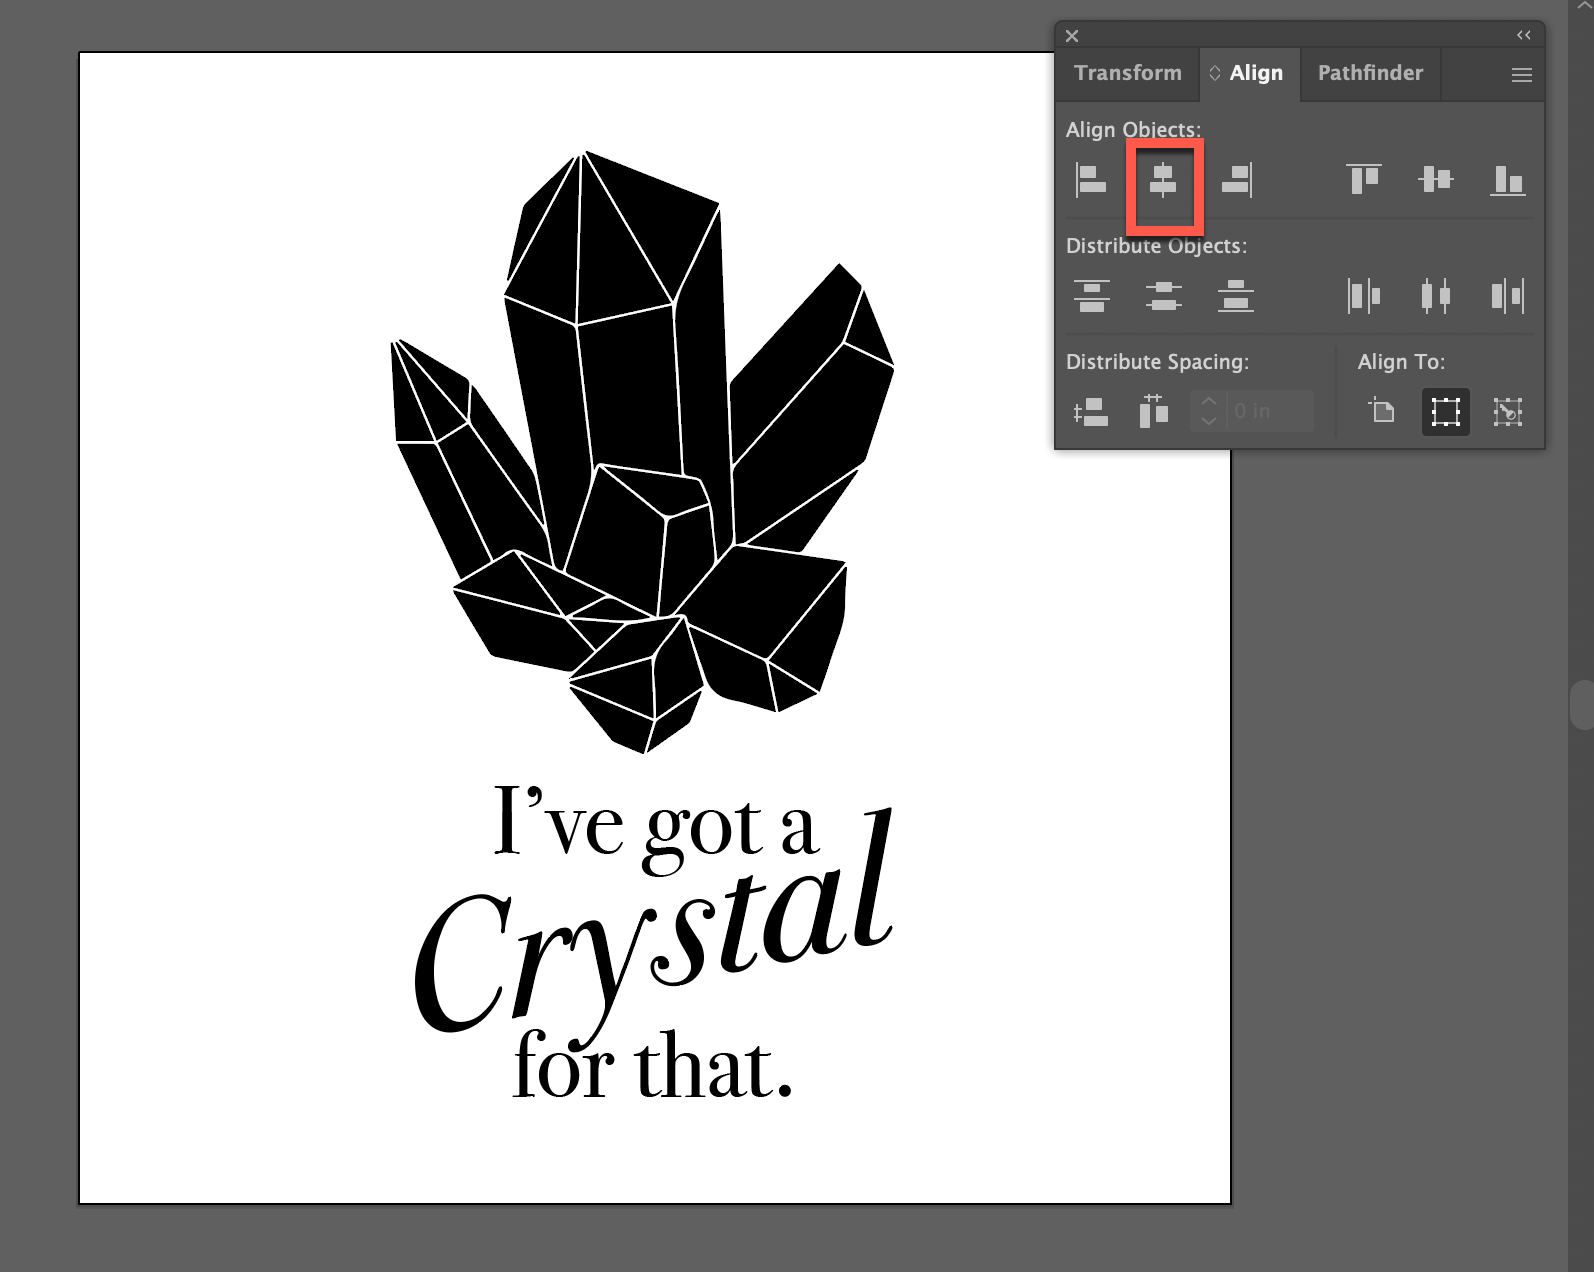
Next I added my text, then centered all of my elements. I then remembered to reflect my text so that it would be readable and not backwards on the final product.

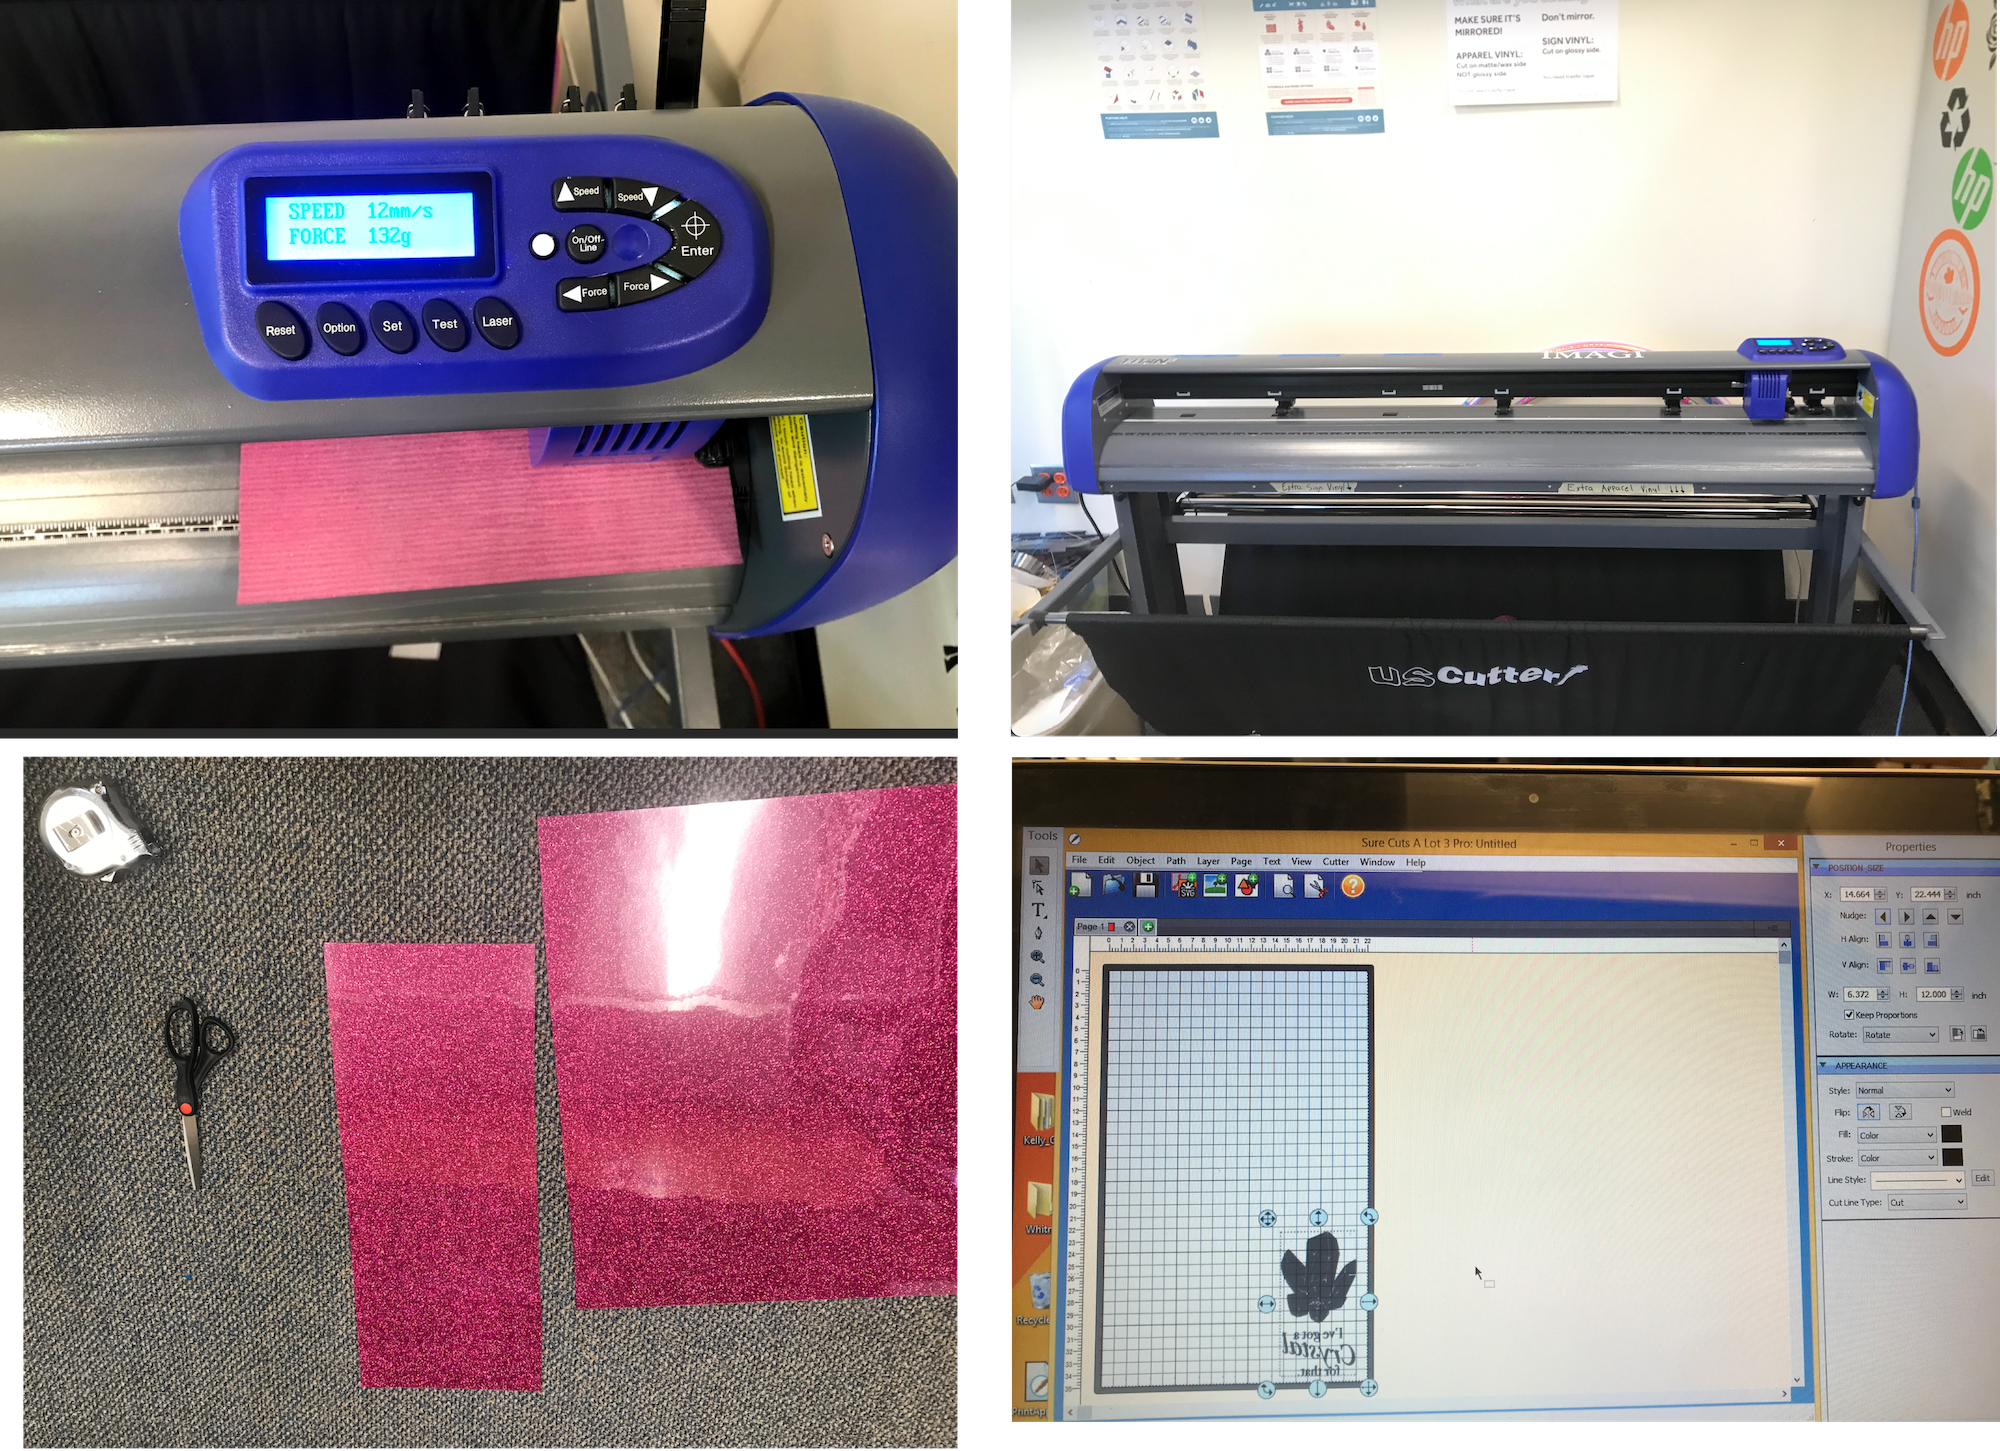
After recieving my training, I was able to book my time on the vinyl cutter to make my shirt graphic. For my vinyl, I picked up a glittery pink color of apparel vinyl and cut a piece from the roll. After loading my sheet of vinyl and setting the speed (12mm/s) and force (135g) of the machine Using the designated computer, I opened my design in Sure Cuts A Lot. I moved the design to the lower corner and double checked the size, making the height 12 inches, and letting the width set automatically based on the proportions. Then I went ahead and sent my design to the machine and watched it cut!
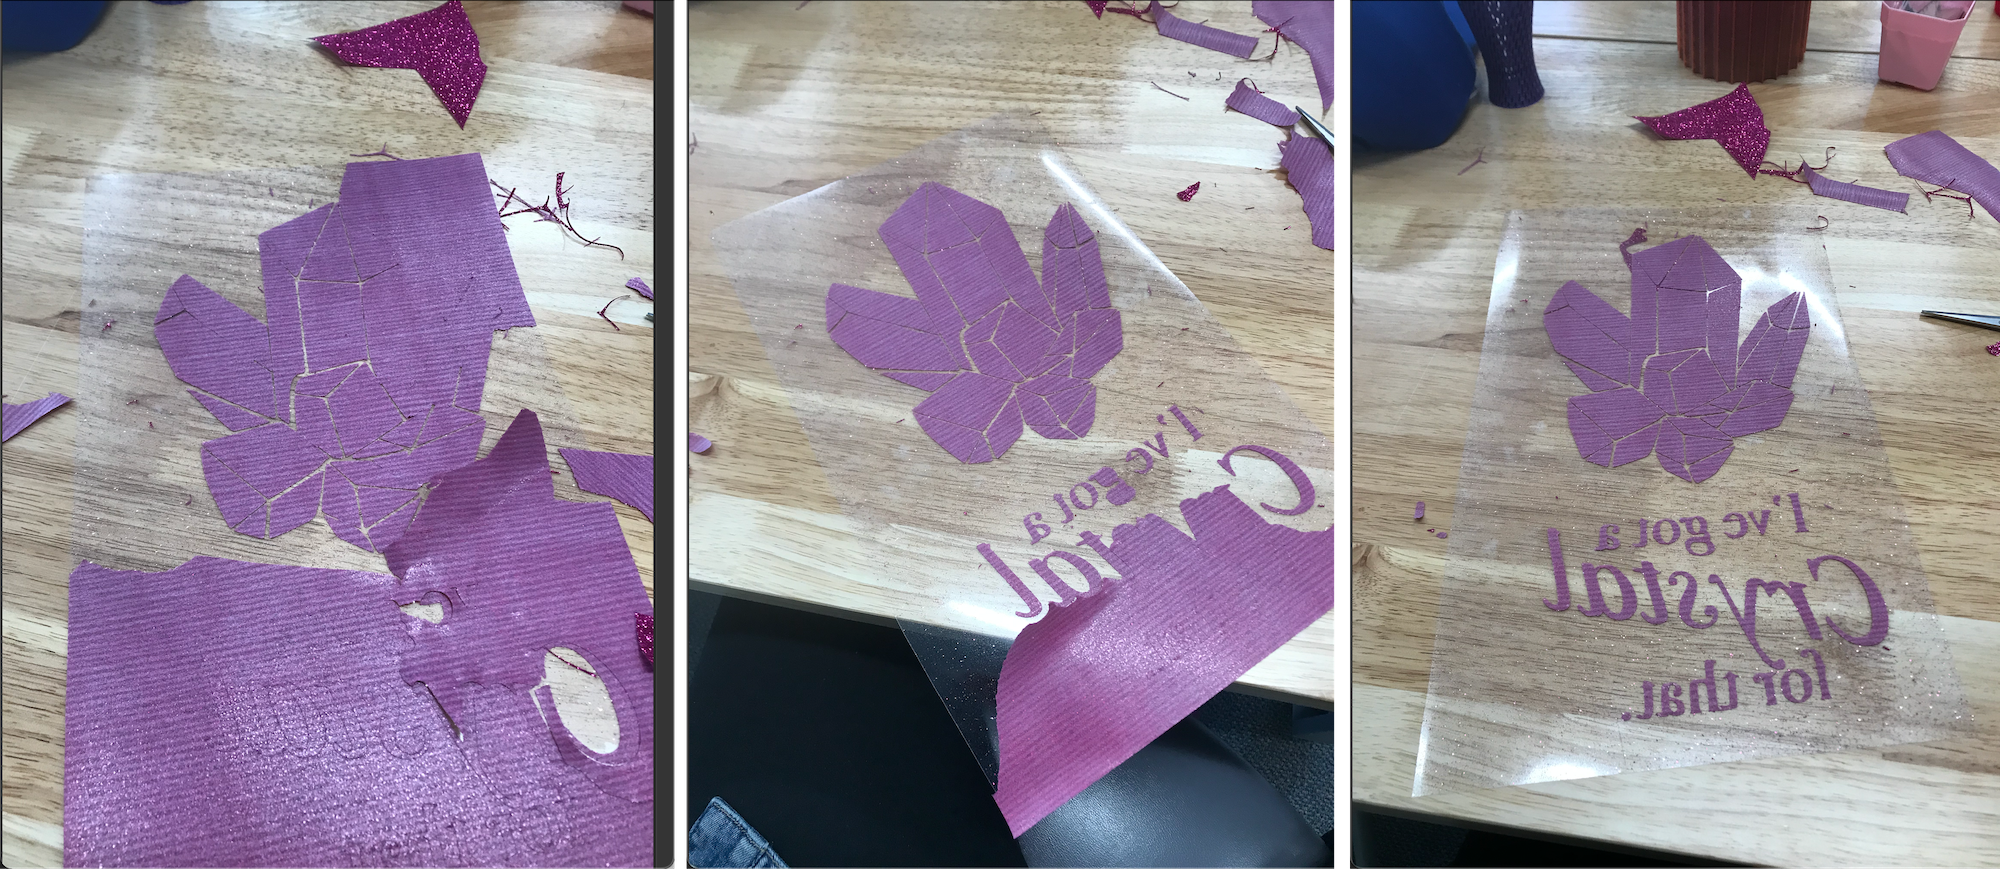
Once the cuts were complete, I had to use an X-acto knife to weed my design and remove the excess pieces of vinyl from the sheet.
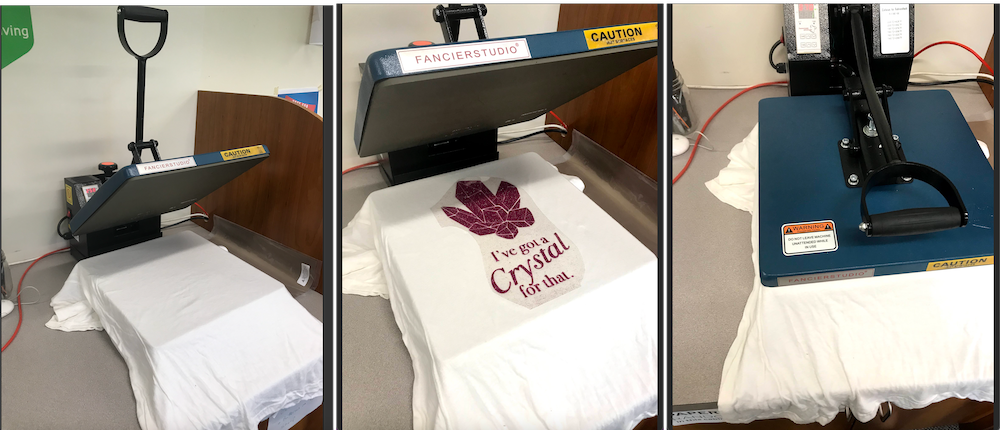
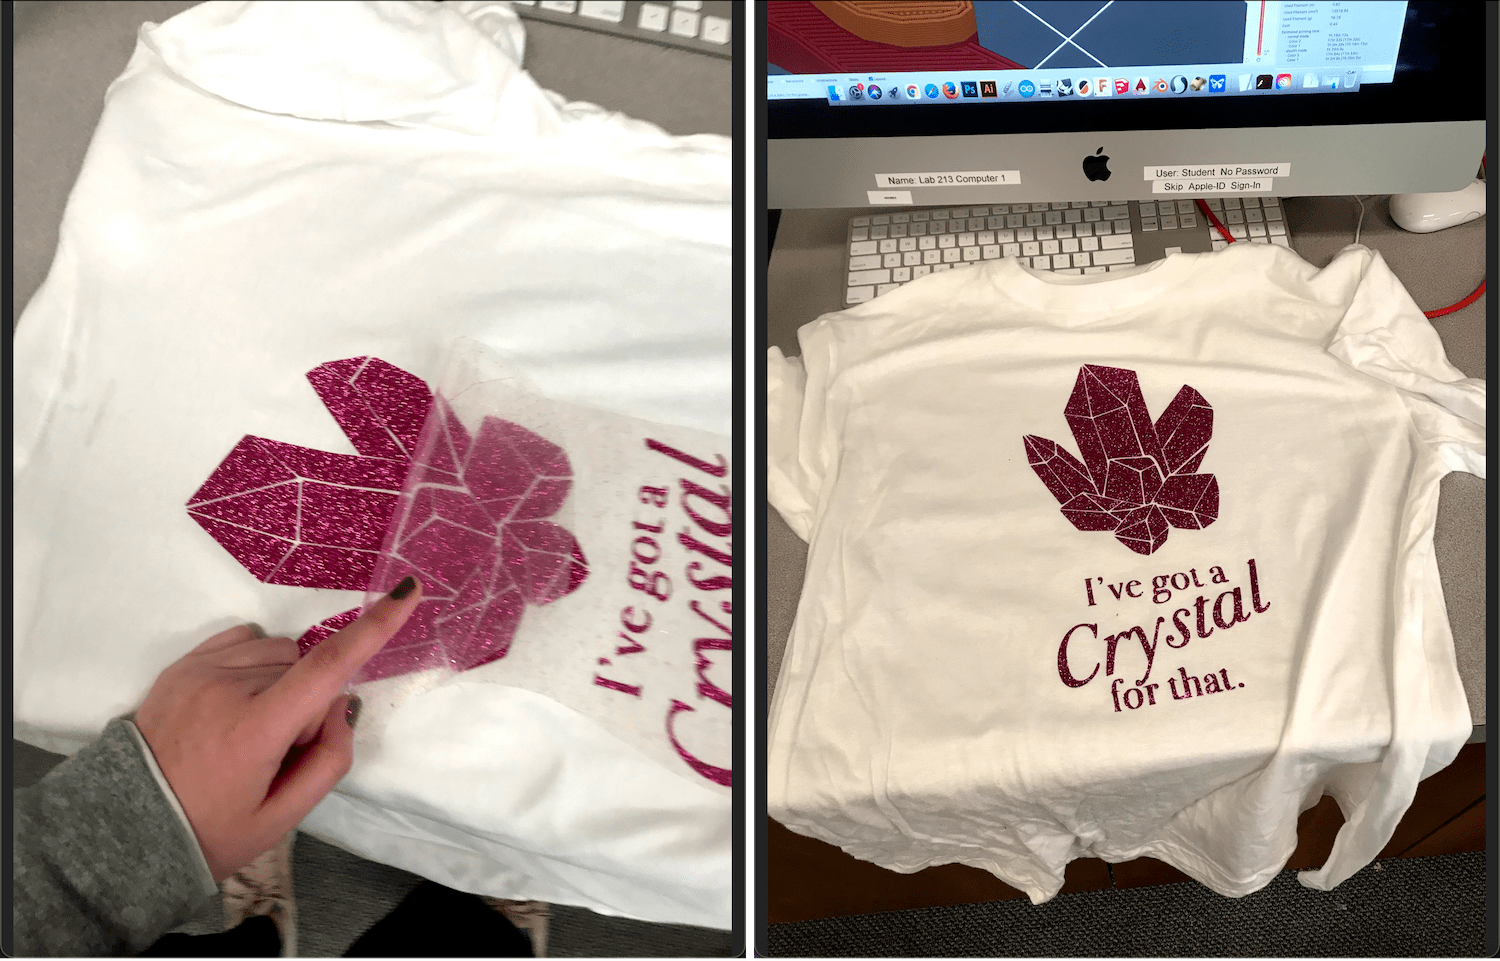
After finishing weeding, I turned on the heatpress. Once it reached 371 degrees F, I placed the blank shirt and pre-warmed it for 5 seconds. Next I placed the vinyl sticky side down onto the shirt, and clamped the heat press down for 10 seconds. I held my breath as I removed it, then proceeded to peel away the sticky sheet. Luckily, it came off beautifully!
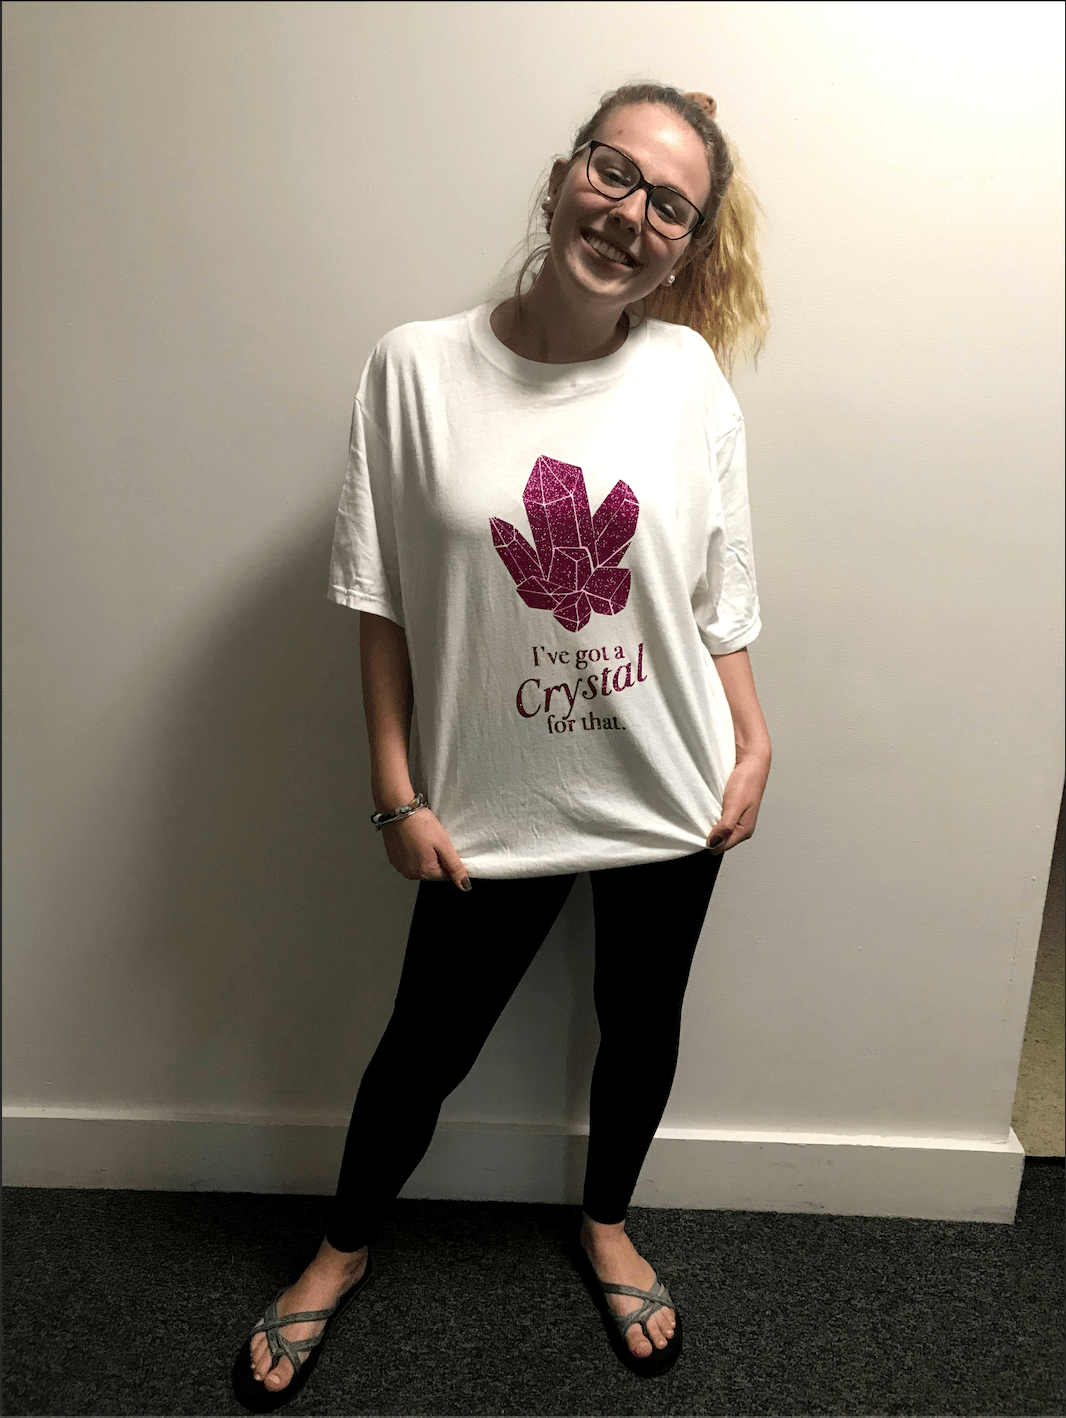
This project was really satisfying! The finished product was a much higher quality than I had expected! My one hang up was using the glitter vinyl as opposed to a normal matte apparel vinyl. The glitter made it much harder to weed, and I had to spend a lot of time carefully peeling away the excess pieces of the design. But I am glad that I stuck with the glitter, as it came out so great!