
This week, we were tasked with making a website hosted through gitPages using HTML and CSS. This site - which happens to be the one you’re on right now!- will serve as my digital portfolio for this course!
Before actually writing any HTML, I had to download Visual Studio Code and set up my gitHub repository.
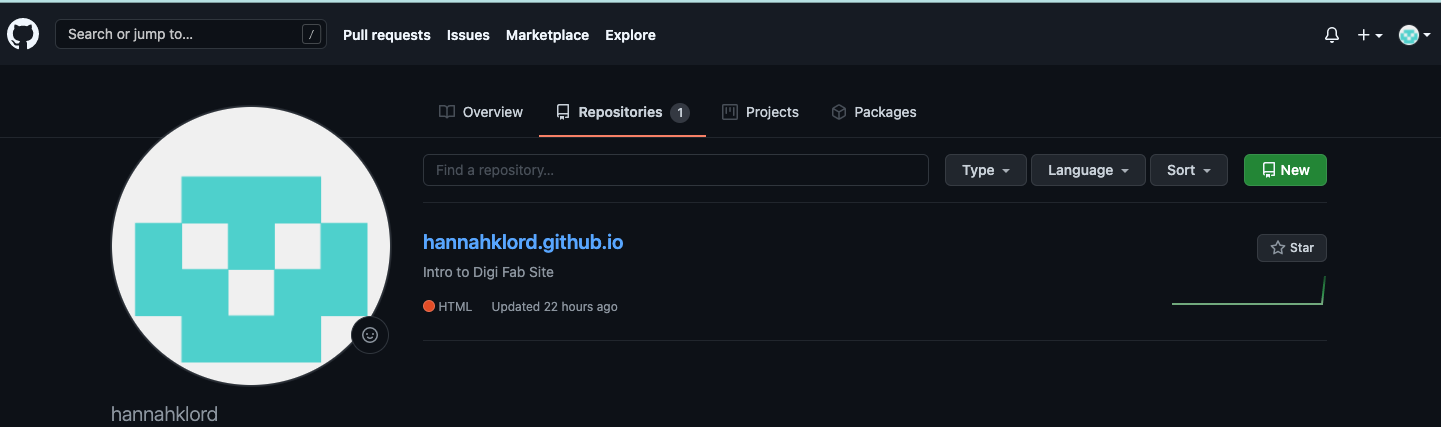
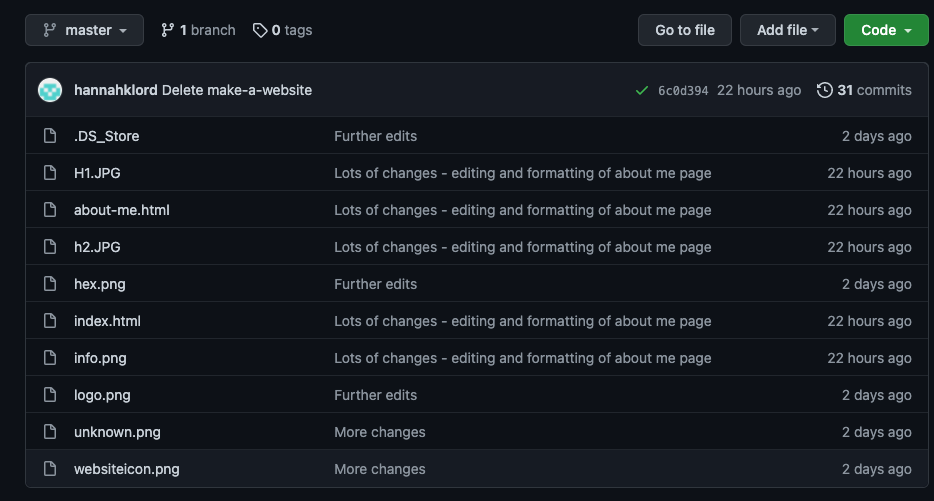
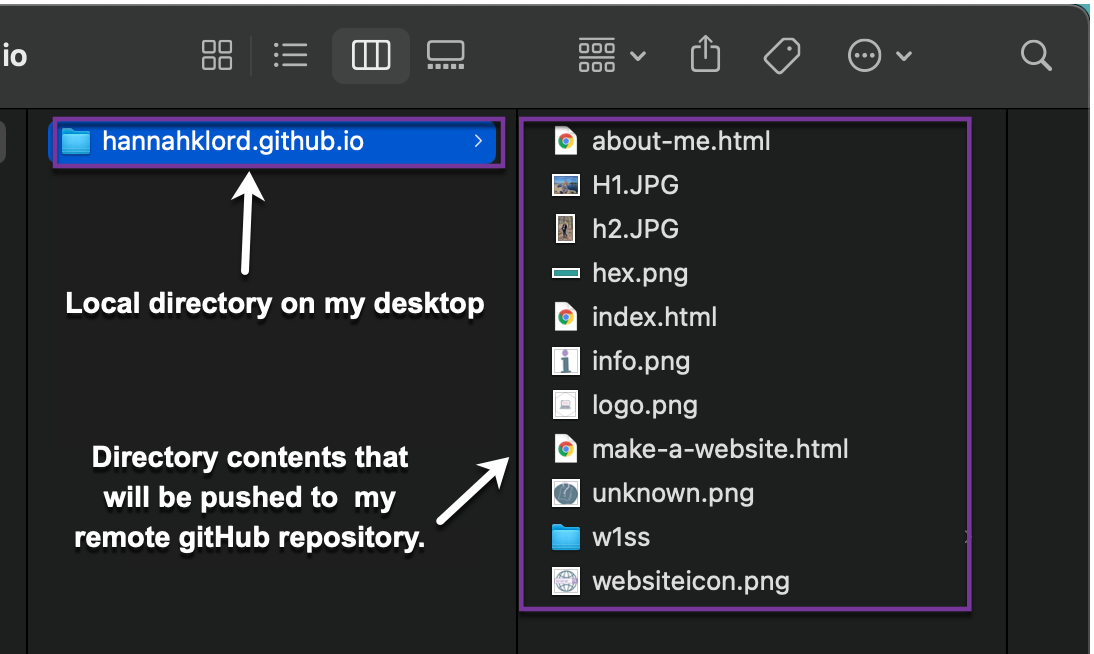
After creating a gitHub account, I created a public repository - a folder that will store all of my files and revision history and can be cloned to my local drive.
Before cloning this repository, I had to install the homebrew git terminal client using these instructions.
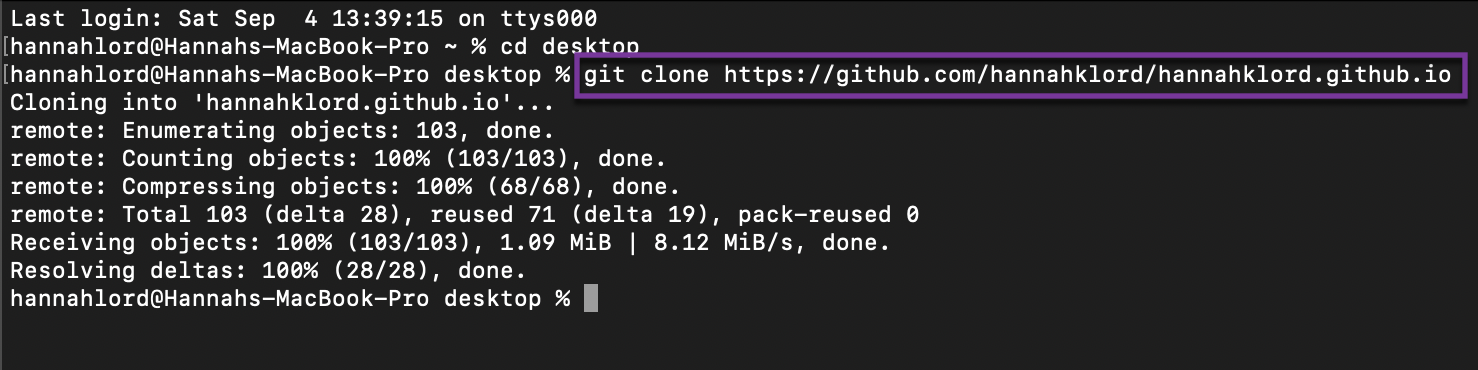
Next, I used the following terminal command to copy my gitHub repository, which included my empty index.html file, to my local machine.
I created, committed and pushed my initial index.html file via the command line by following the gitPages tutorial, which required a personal access token I configured through my gitHub account.
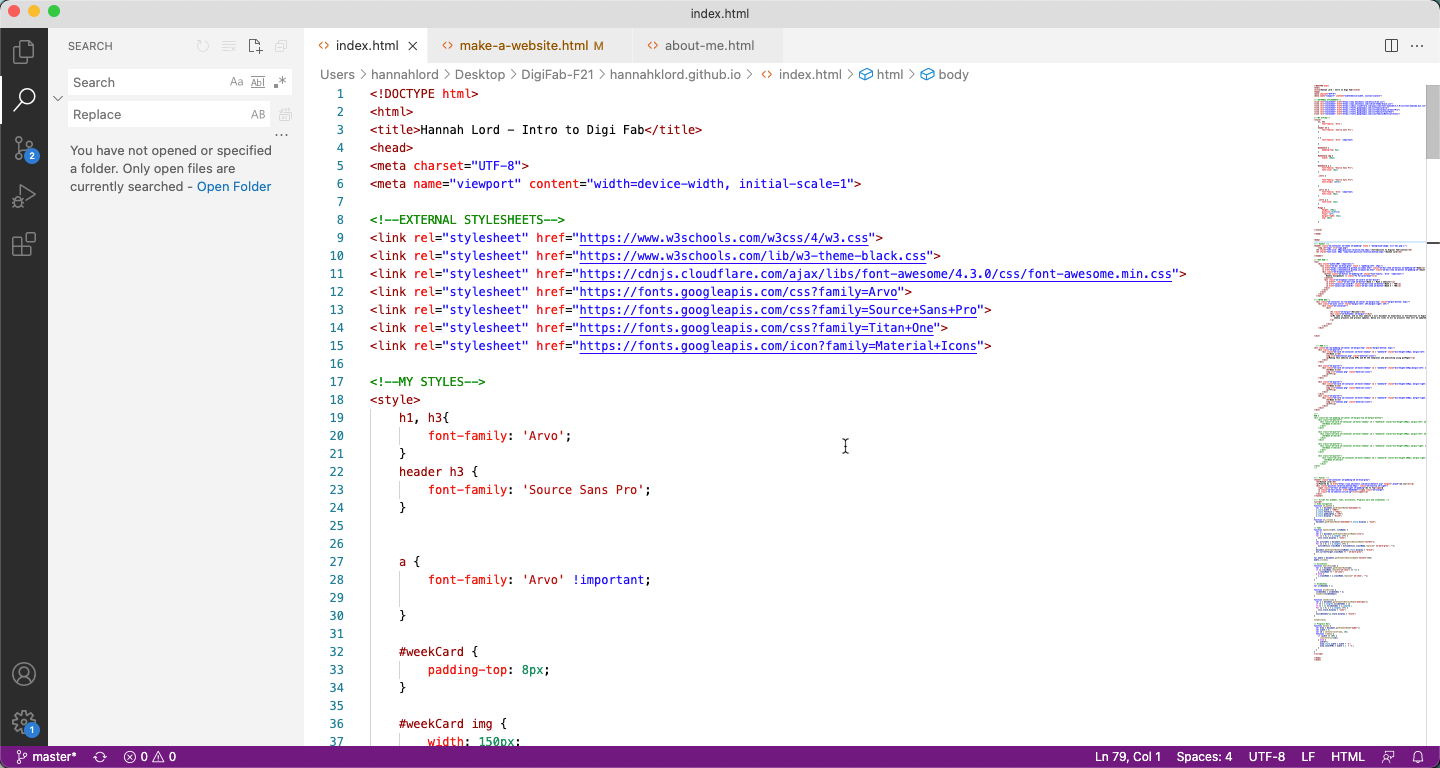
After entering my username and token, I opened this new file in the Visual Studio Code IDE. The VSC text editor allows me to make edits or commits to my local HTML and CSS files, then push my changes to my remote gitHub repository that is publicly accessible on the internet. Visual Studio
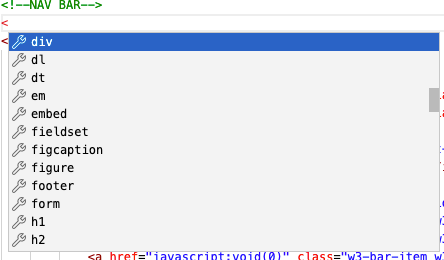
code has plenty of helpful features, such as auto-fill, dropdowns, and extensions, paired with a simple interface that makes writing HTML and CSS much easier than editing in a basic text editor.
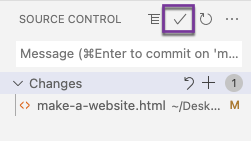
After editing something on VSC, I had to commit my changes by clicking the check mark in the upper left. This saved my changes to my local files.
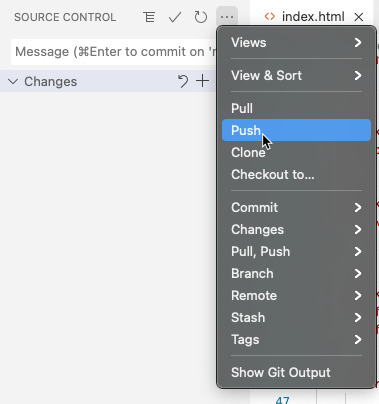
Once my changes had been committed, I could push these changes to my remote repository by selecting the dropdown and clicking “push”. This uploaded my local files to my remote repository to reflect the changes on my live website.
Now all set up with git and VSC, I was ready to start making my website!
Git uses these terms to refer to moving and editing file versions between a development/local and live/remote space. The purpose of Git is to allow for collaboration across multiple machines and multiple web developers.
| Clone | copy the remote repository to your local machine |
|---|---|
| Pull | update your local version of the repository with the latest updated versions of remote files to your local machine. this is more applicable in group work. |
| Commit | save your edits to the file to your local repository. This also allows you to make notes of what changes or edits have been made. |
| Push | update the files in the remote repository with the committed files on your local machine. |
HTML stands for “hyper text markup language” and is the standard framework of any website. HTML is the language a browser can understand and uses to display a webpage. Elements, such as links, paragraphs, or headings, are tagged in the following format:

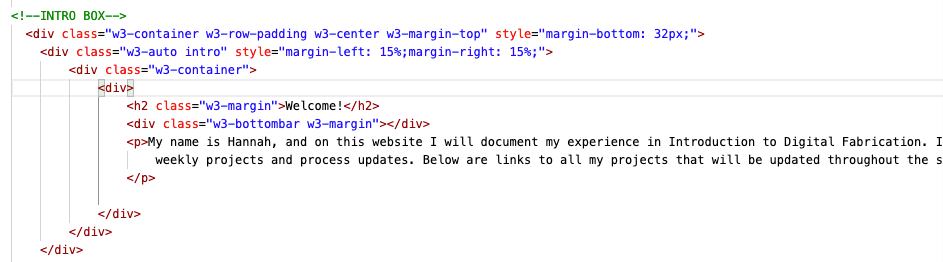
Here is some example HTML from my homepage:
CSS stands for “cascading style sheets” and is, in short, what makes web pages visually appealing! Color, font, alignment, and layouts are all controlled by CSS.
CSS can be included inline or in the header within an HTML file, or can be an entirely separate file with a .css extension. These files can be referenced by multiple HTML files, making it easier to design and format multiple pages at once.
Here are some examples of CSS:

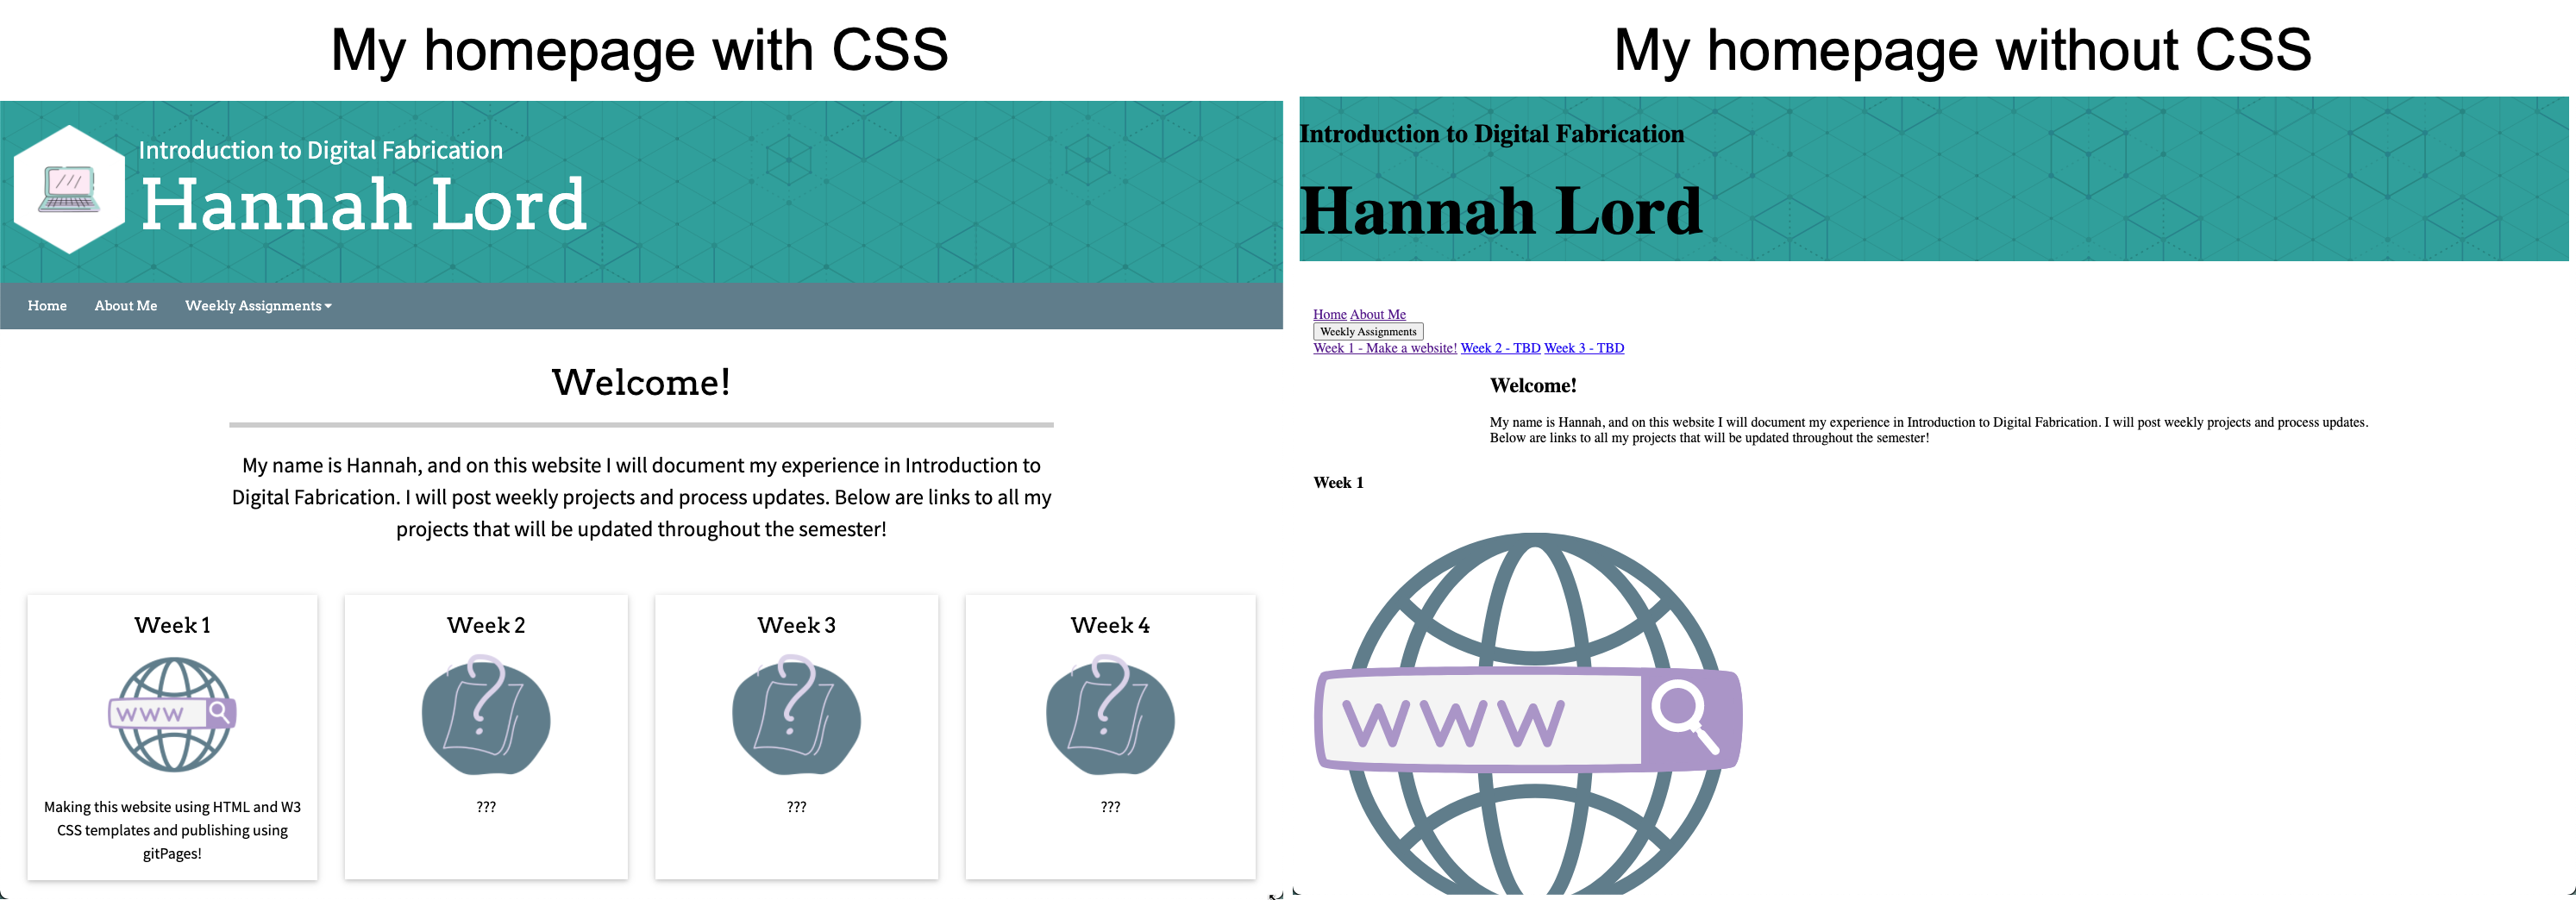
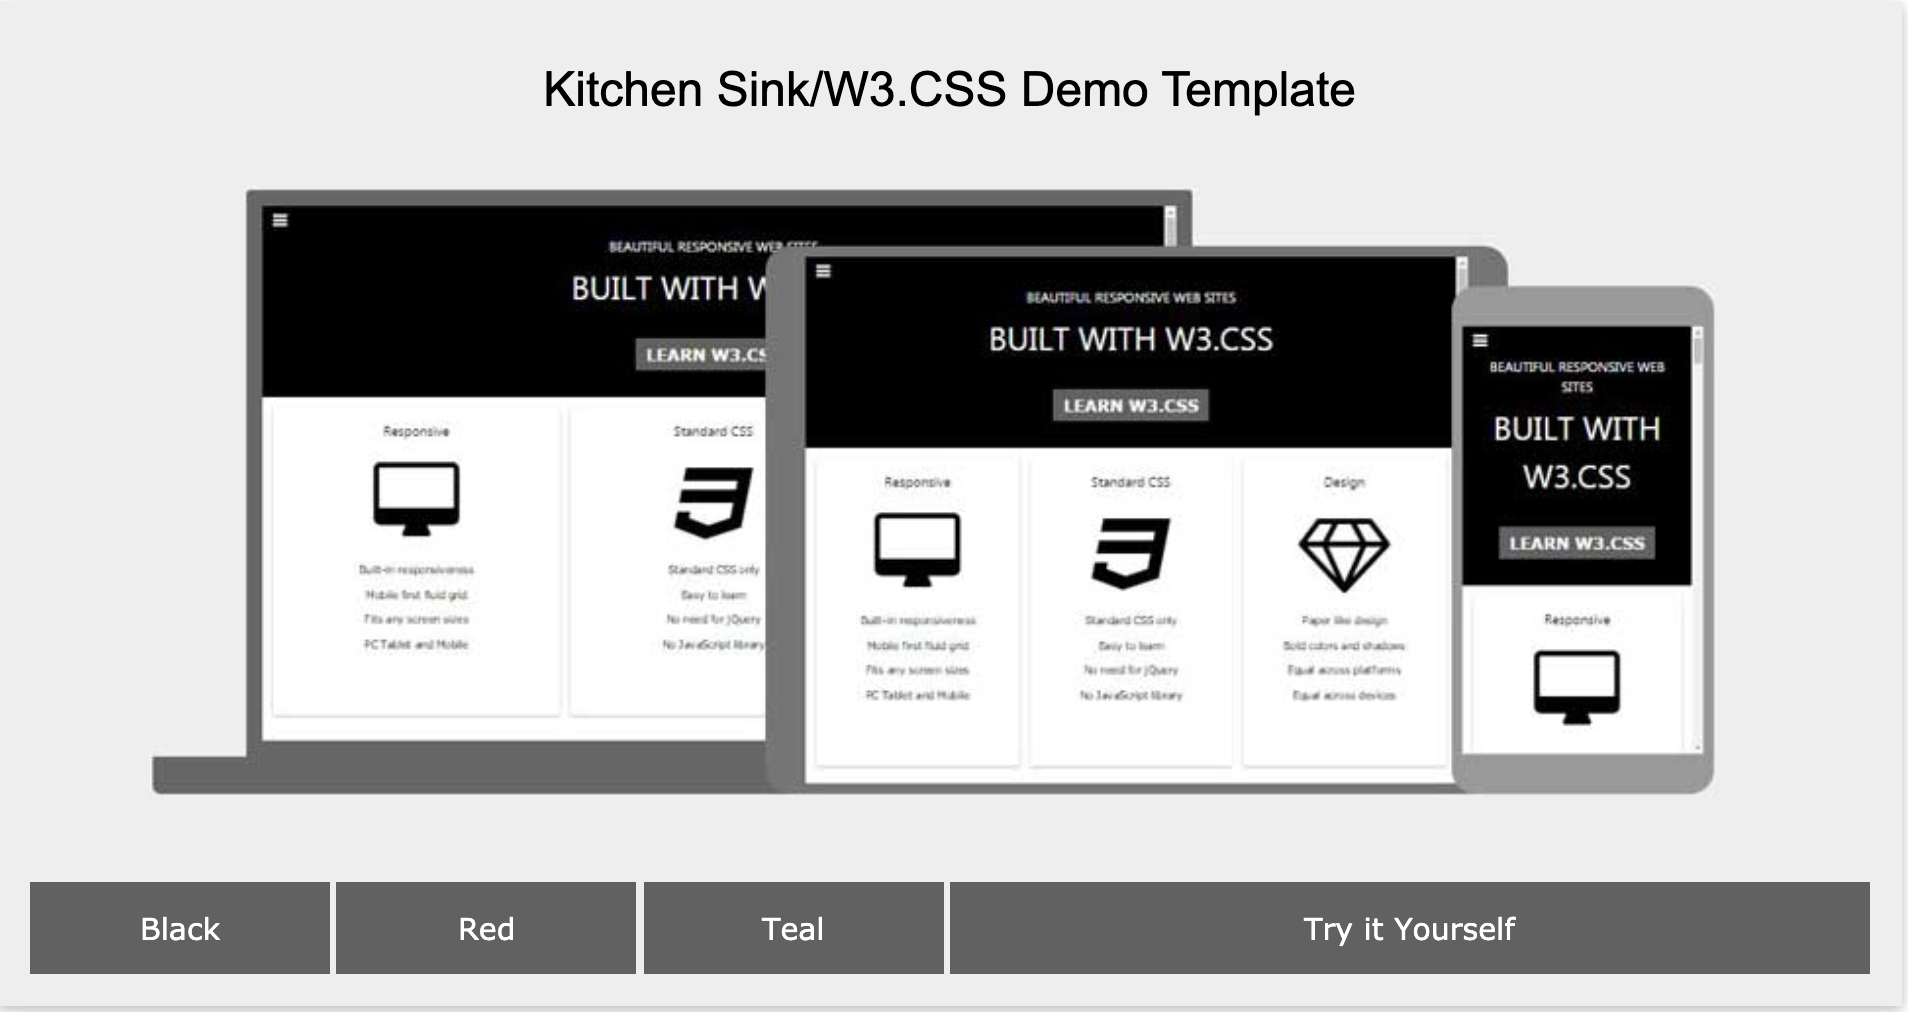
In Fall 2019, I took a Web Development course, so I was able to apply my experience with HTML and CSS to create my site. I utilized W3 Schools’ free CSS templates as a basic layout for my site, and to save myself the hassle of starting the site from scratch.
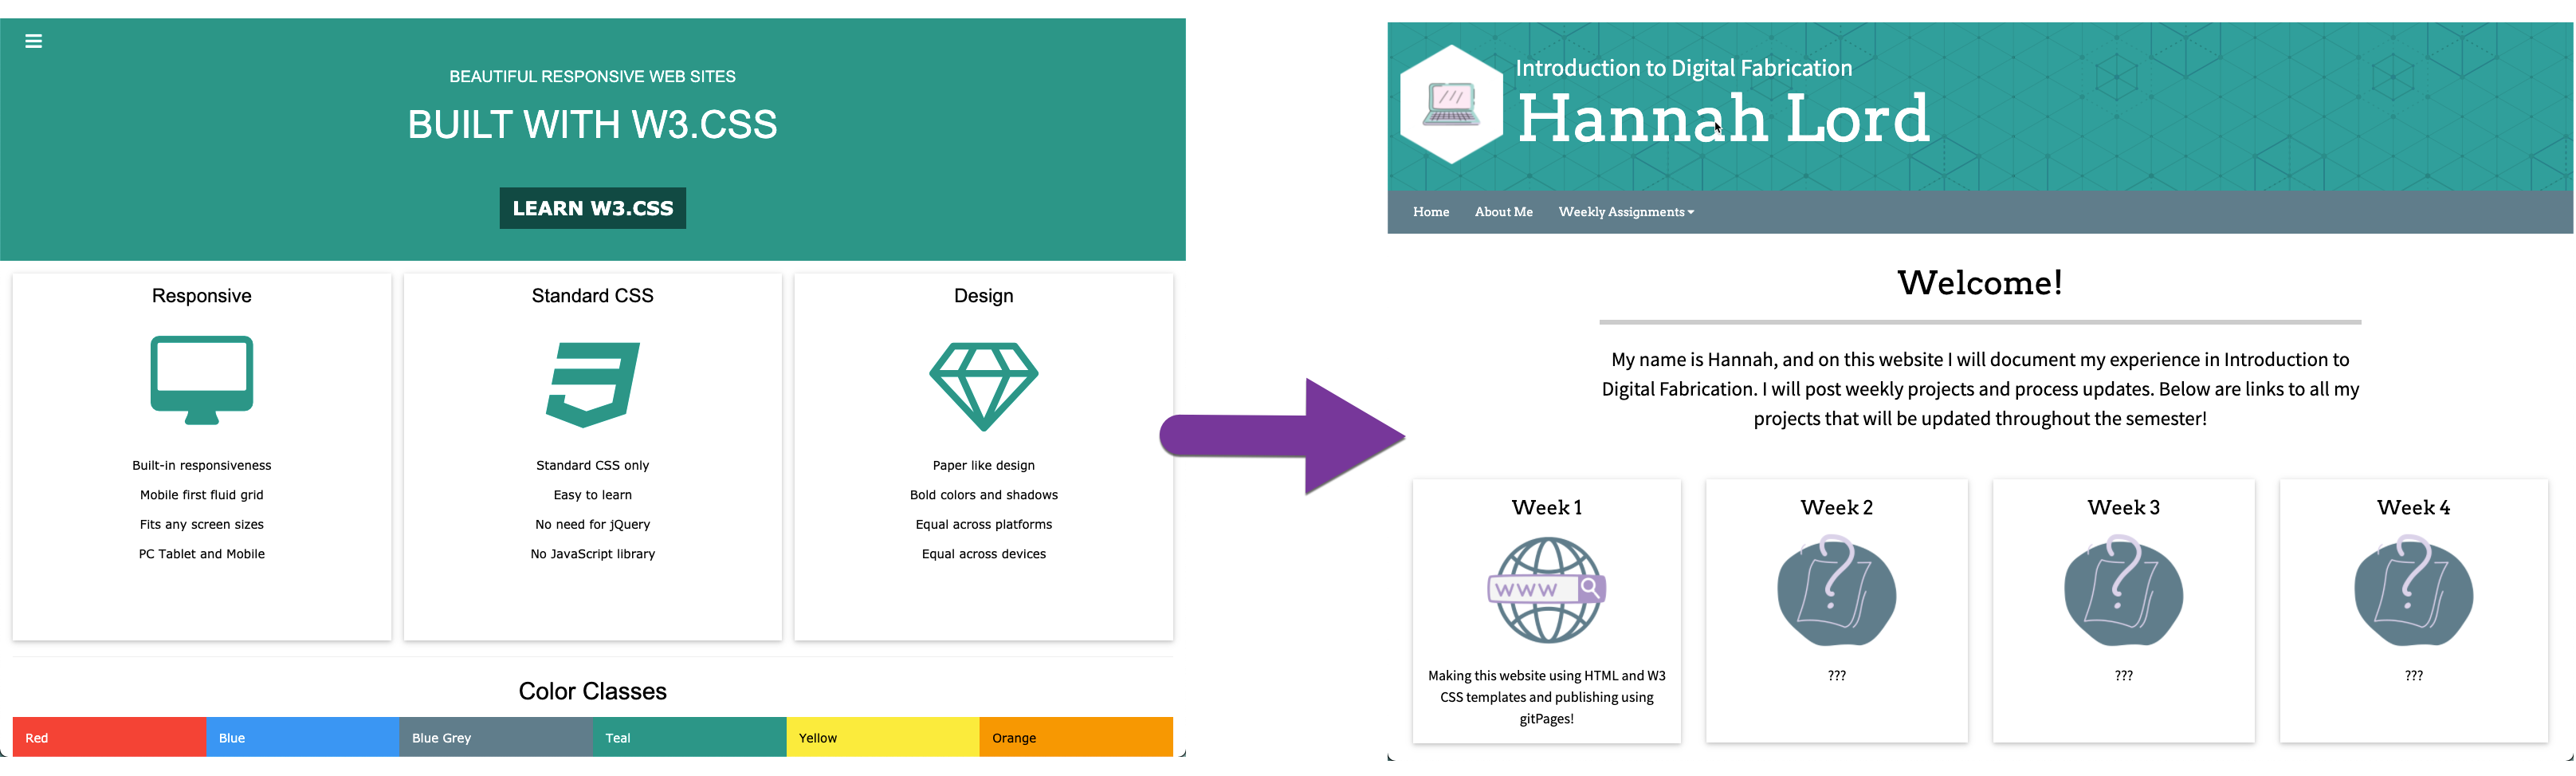
I was able to use W3 School’s CSS template to create a layout that worked for simply displaying links to all of my projects, and utilized my previous experience to add my own touches to my site!
Having done some web development prior to this project, I was excited to be able to employ these skills! Most of my time was spent with trial and error for CSS related changes and getting the format I wanted. I luckily ran into very few issues, but had initially had a lot of trouble figuring out a good design for the homepage. After looking for inspiration on a number of
FabAcademy sites, I settled with a block design to provide easy access to individual week projects.
Working with git has been tricky but incredibly rewarding. Even as a Computer Science major, the command line can still be daunting, but having that first "Hello world" message popup in Google Chrome was so exciting!
Having even just a basic familiarity with git I feel will be a valuable skill to have.
The only issue I had with git was the amount of time it took for my changes to be reflected on the live site. I ended up using Google Chrome to view my files before even pushing them to my git respository, which allowed me to test out lots of formatting options without the hassel of pushing and waiting for every little change I made.
Additionally, I failed to follow Dalton's advice and take plenty of screenshots during the process itself. I found myself at the end going back and replicating certain actions just for a screenshot. Definitely another valuable lesson learned that I can apply going forward!