
This week, I channeled all of the skills I had acquired over the past few months to create an edge lit acrylic sign. This project involved the construction of three key components:
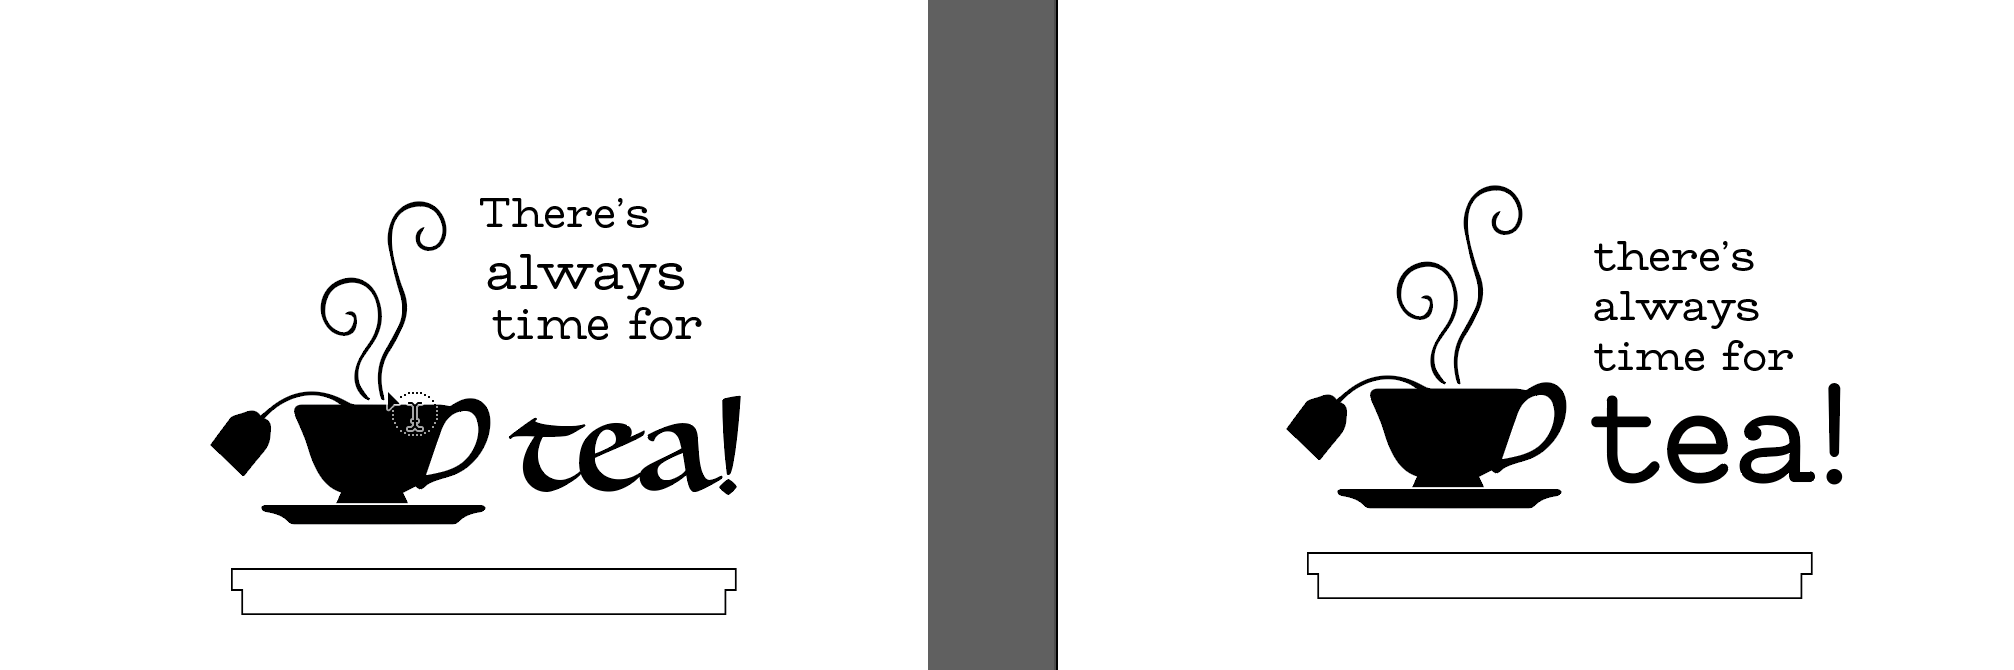
I created my sign design in Adobe Illustrator. I went through a couple of ideas before deciding on my final design.
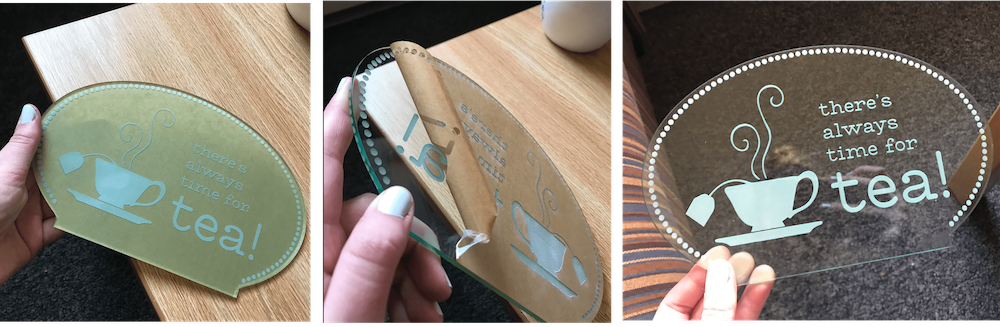
As a tea lover, I used the quote "there's always time for tea", and used a tea cup graphic from online.
I tested out a couple of fonts, but decided on the font I had used for my digitally embroidered logo.
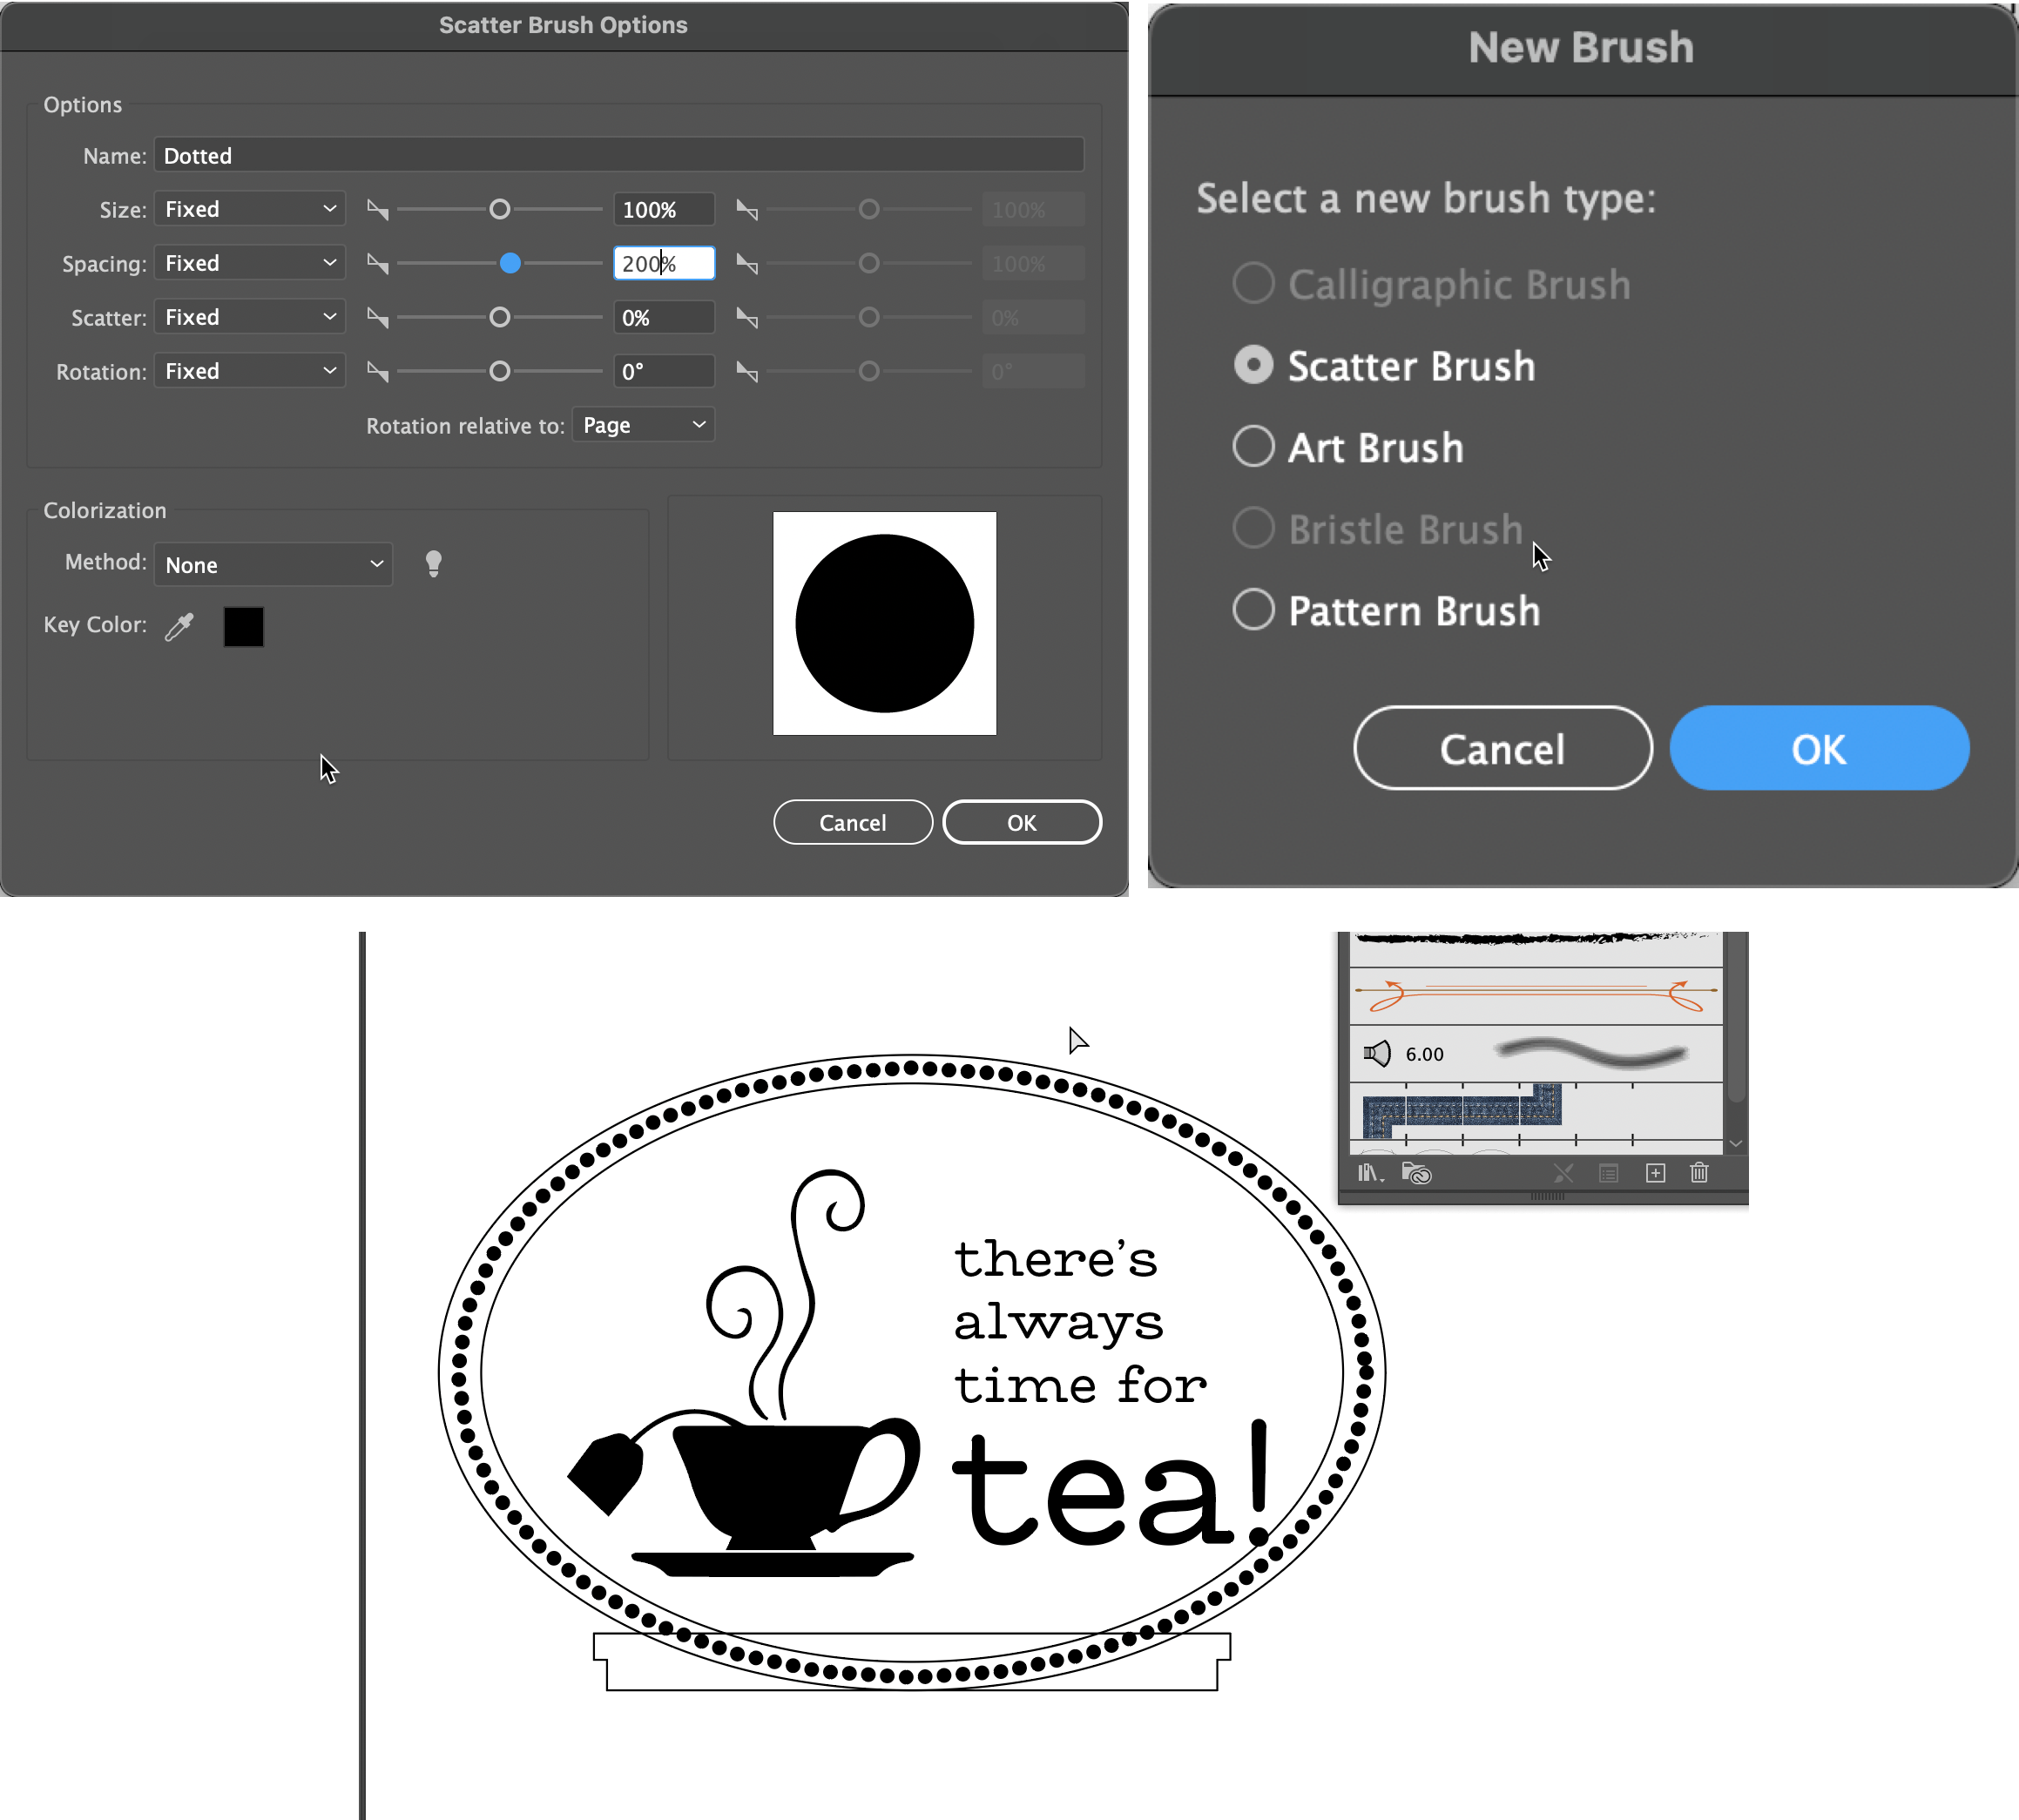
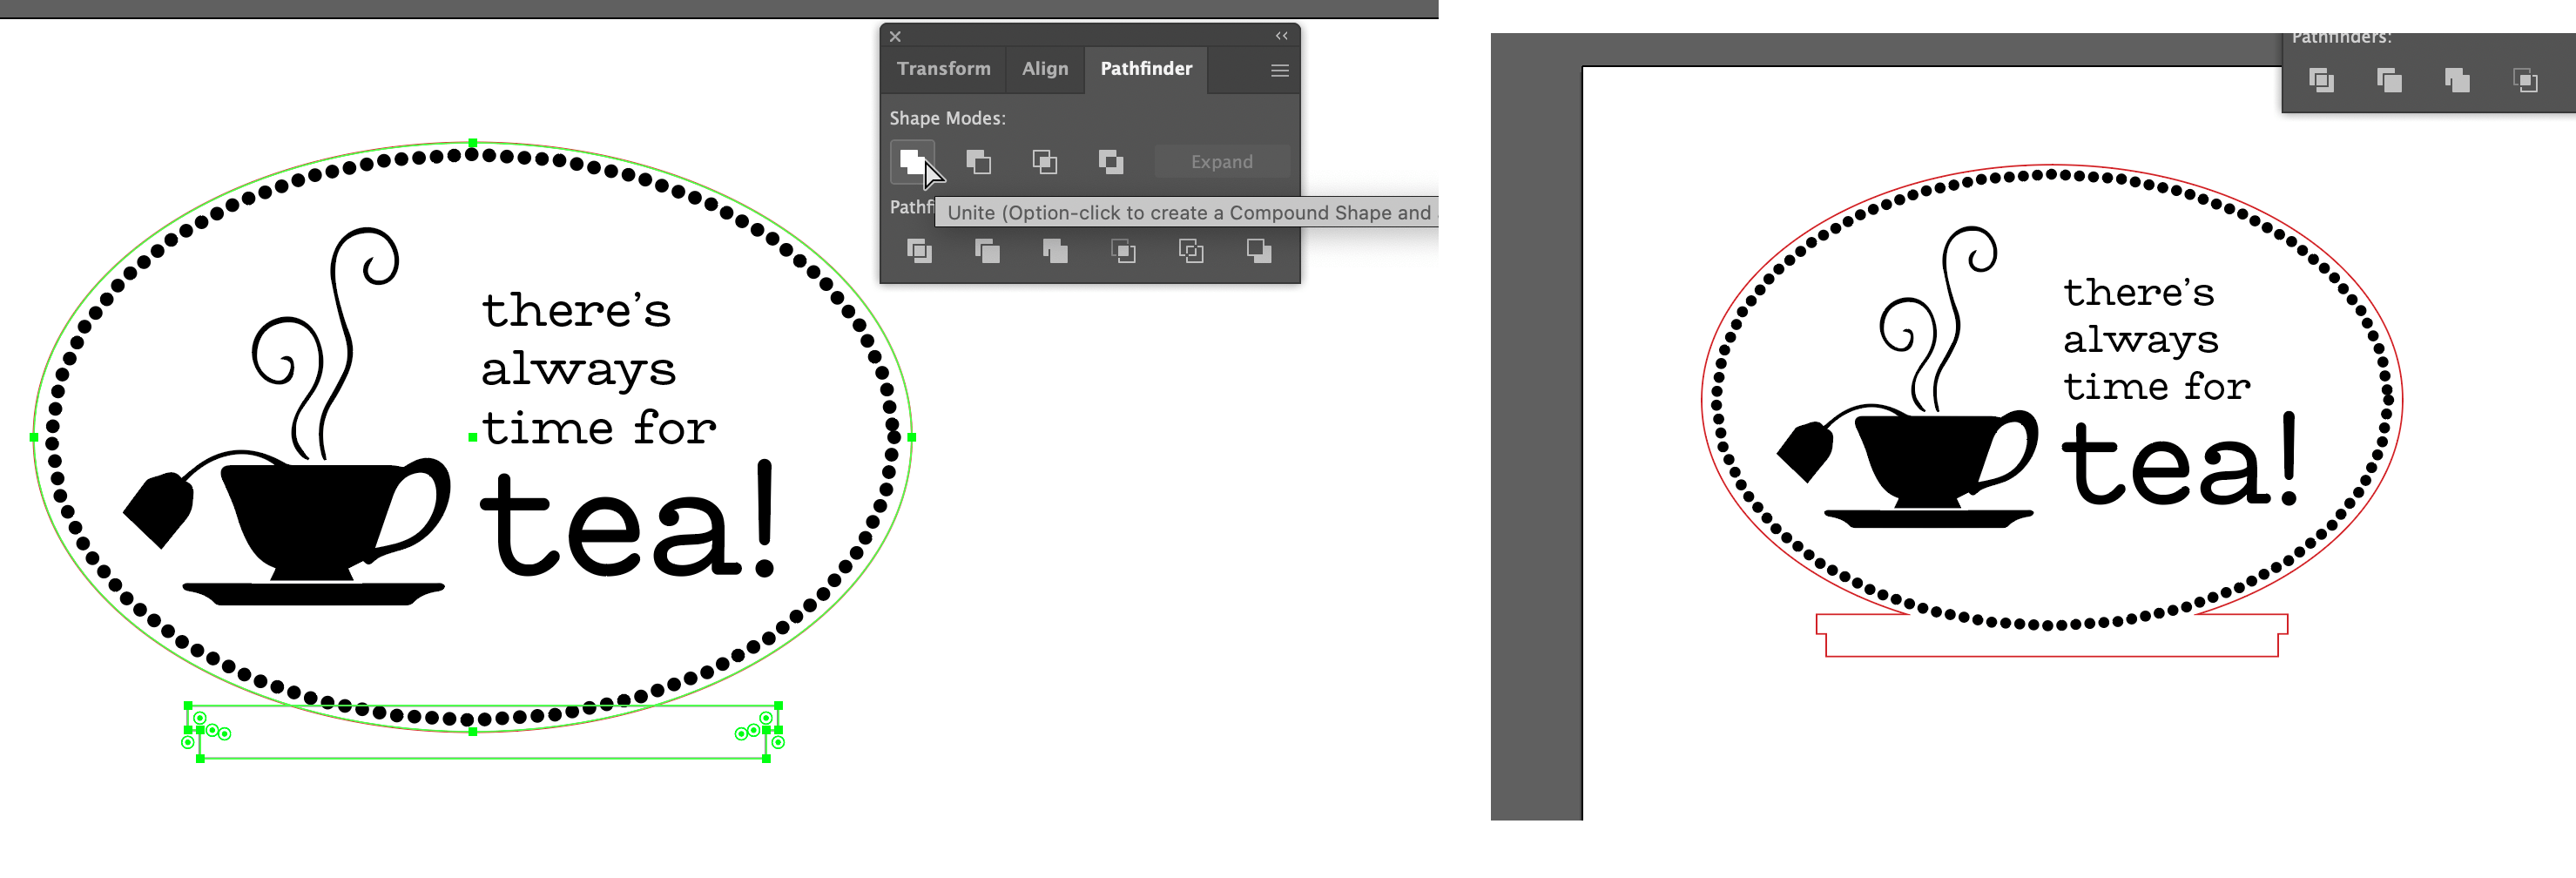
Once I traced my image and outlined my text, I created a circular border to indicate the shape of the sign. Then I used a custom created brush to create a dotted line to border the inside of the sign. Last, I used the Pathfinder tool to join the shape of the sign and the predesigned shape for the slot that will fit into the base.
I used the Pathfinder tool to join the shape of the sign and the predesigned shape for the slot that will fit into the base.
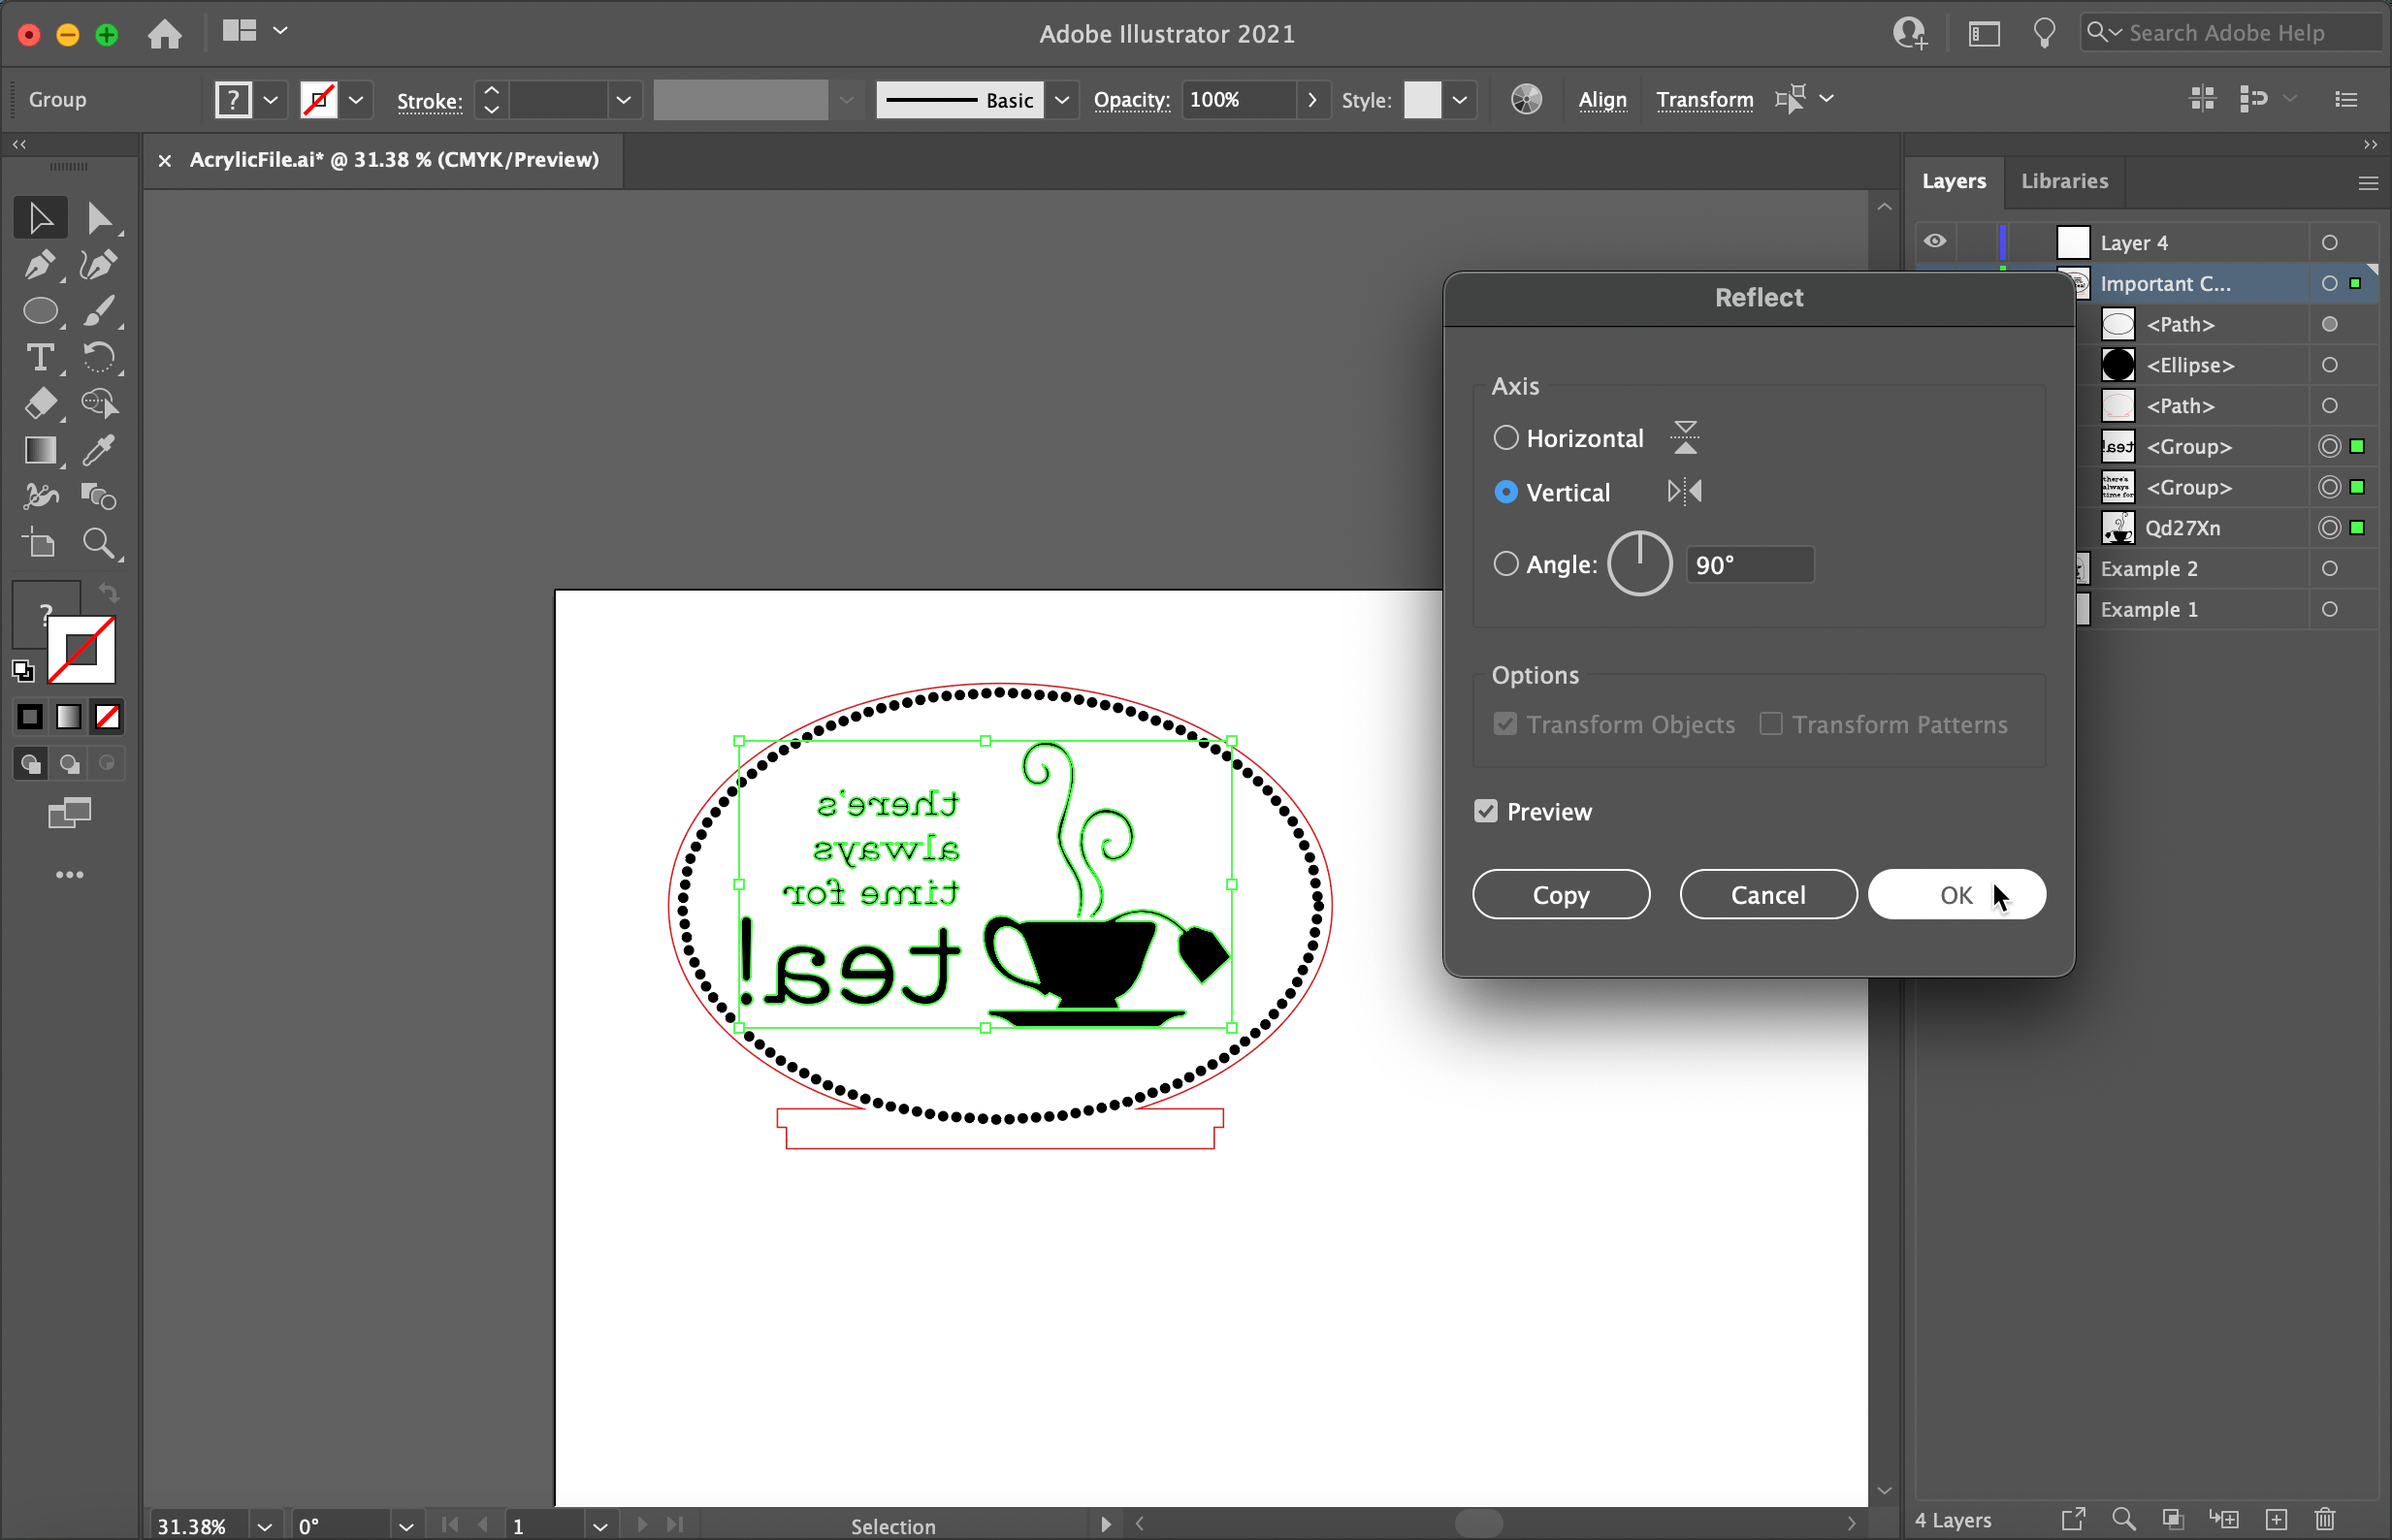
Last, I mirrored the design so that it would be properly oriented when laser cut onto the acyrlic.

I cut and engraved clear acrylic material using the GlowForge laser cutter, that I luckily had
previous experience with. I uploaded my svg to app.GlowForge, then manually set the speed and precision power. It took 38 minutes to cut out my sign, but the wait time was worth it!
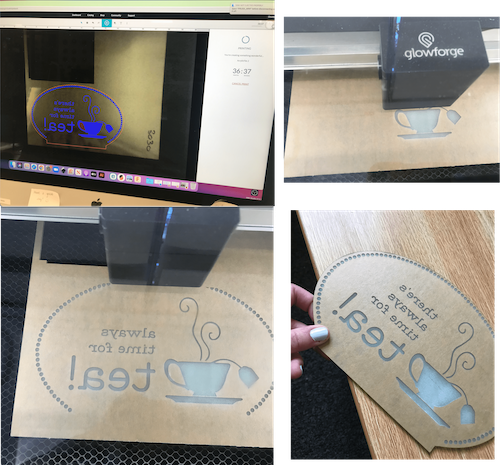
After retrieving the finished cut from the GlowForge, I had to peel away the paper to reveal the finished acrylic!
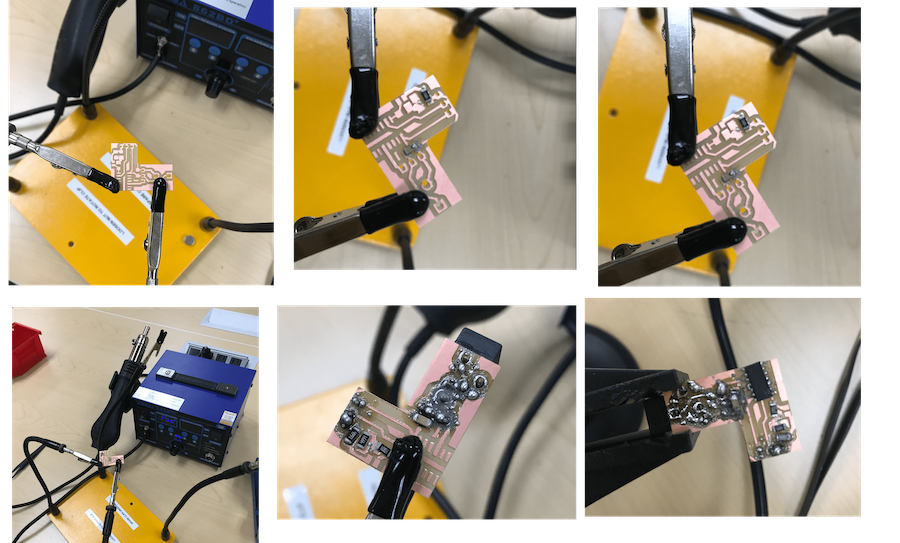
The electronics training was painful to say the least. And even sadder - the circuit board I created isn't even used in my final project! But if anything, at least I learned now much I hate sautering.
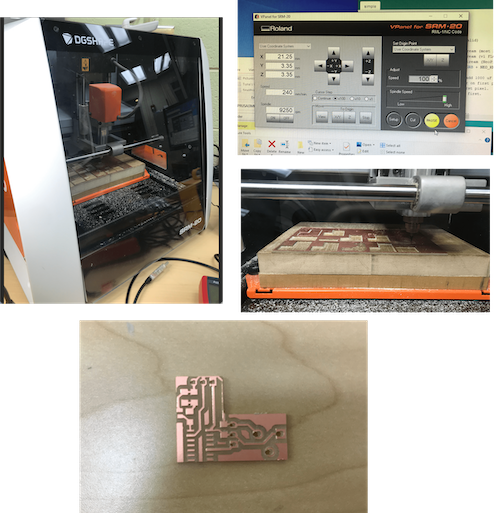
While I had absolutely no troubles cutting the board, sautering was absolutely brutal. I had a lot of trouble, and nothing was staying. Luckily, Tuna made additional circuits for all of us. With all the sauter paste on my board, I'm not sure it would've worked....
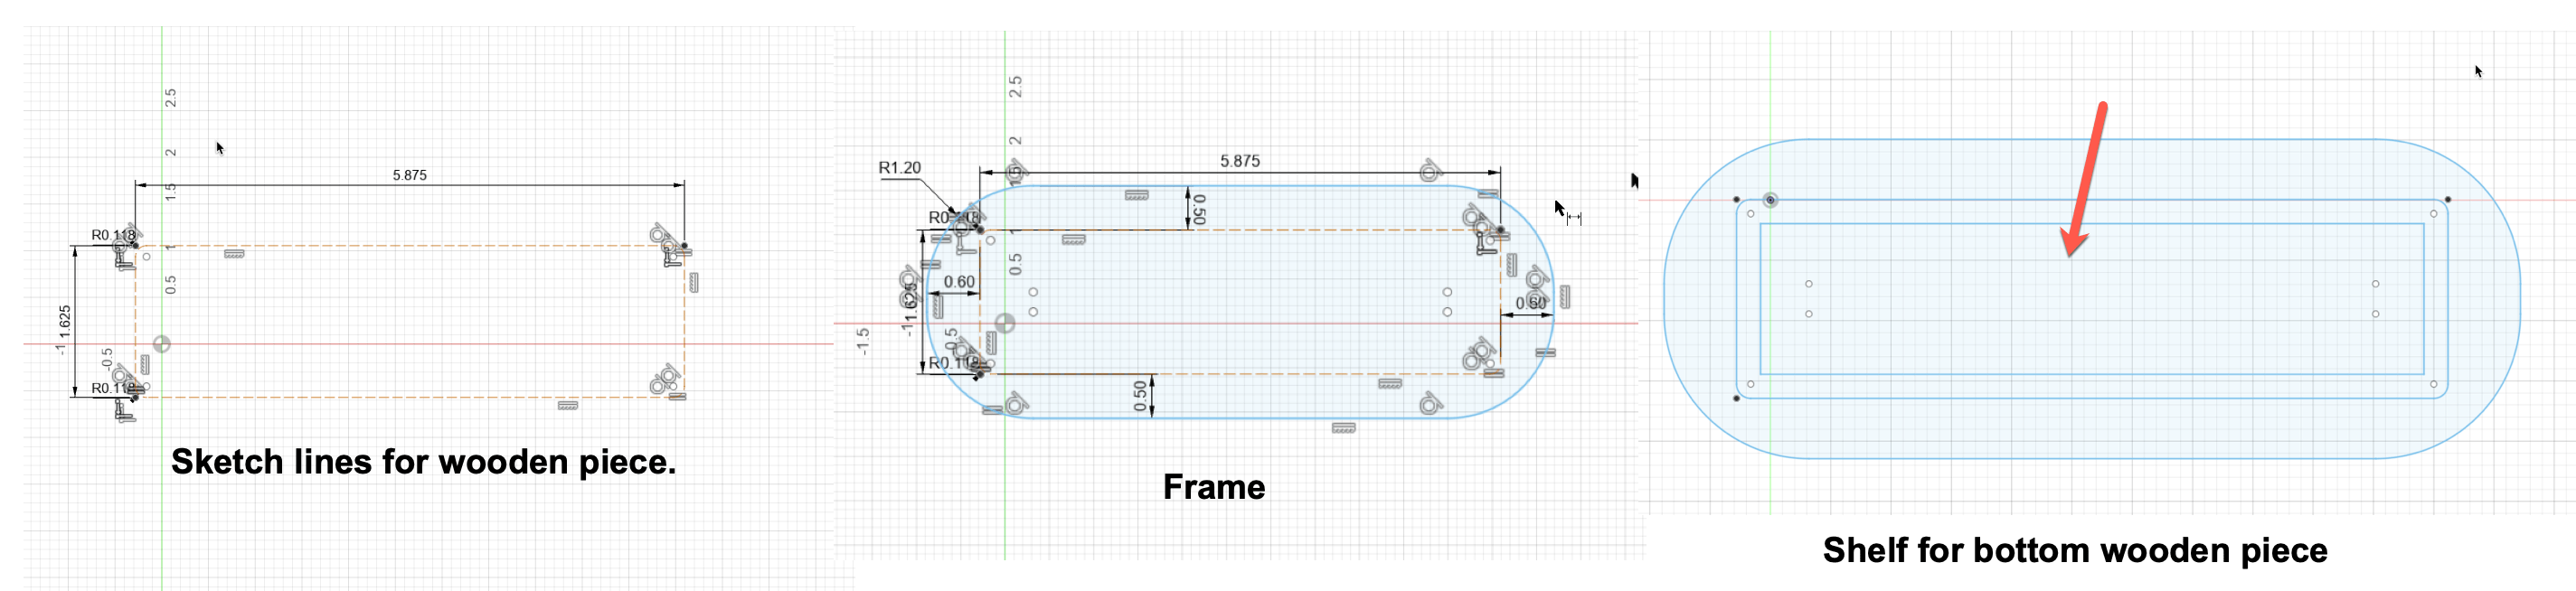
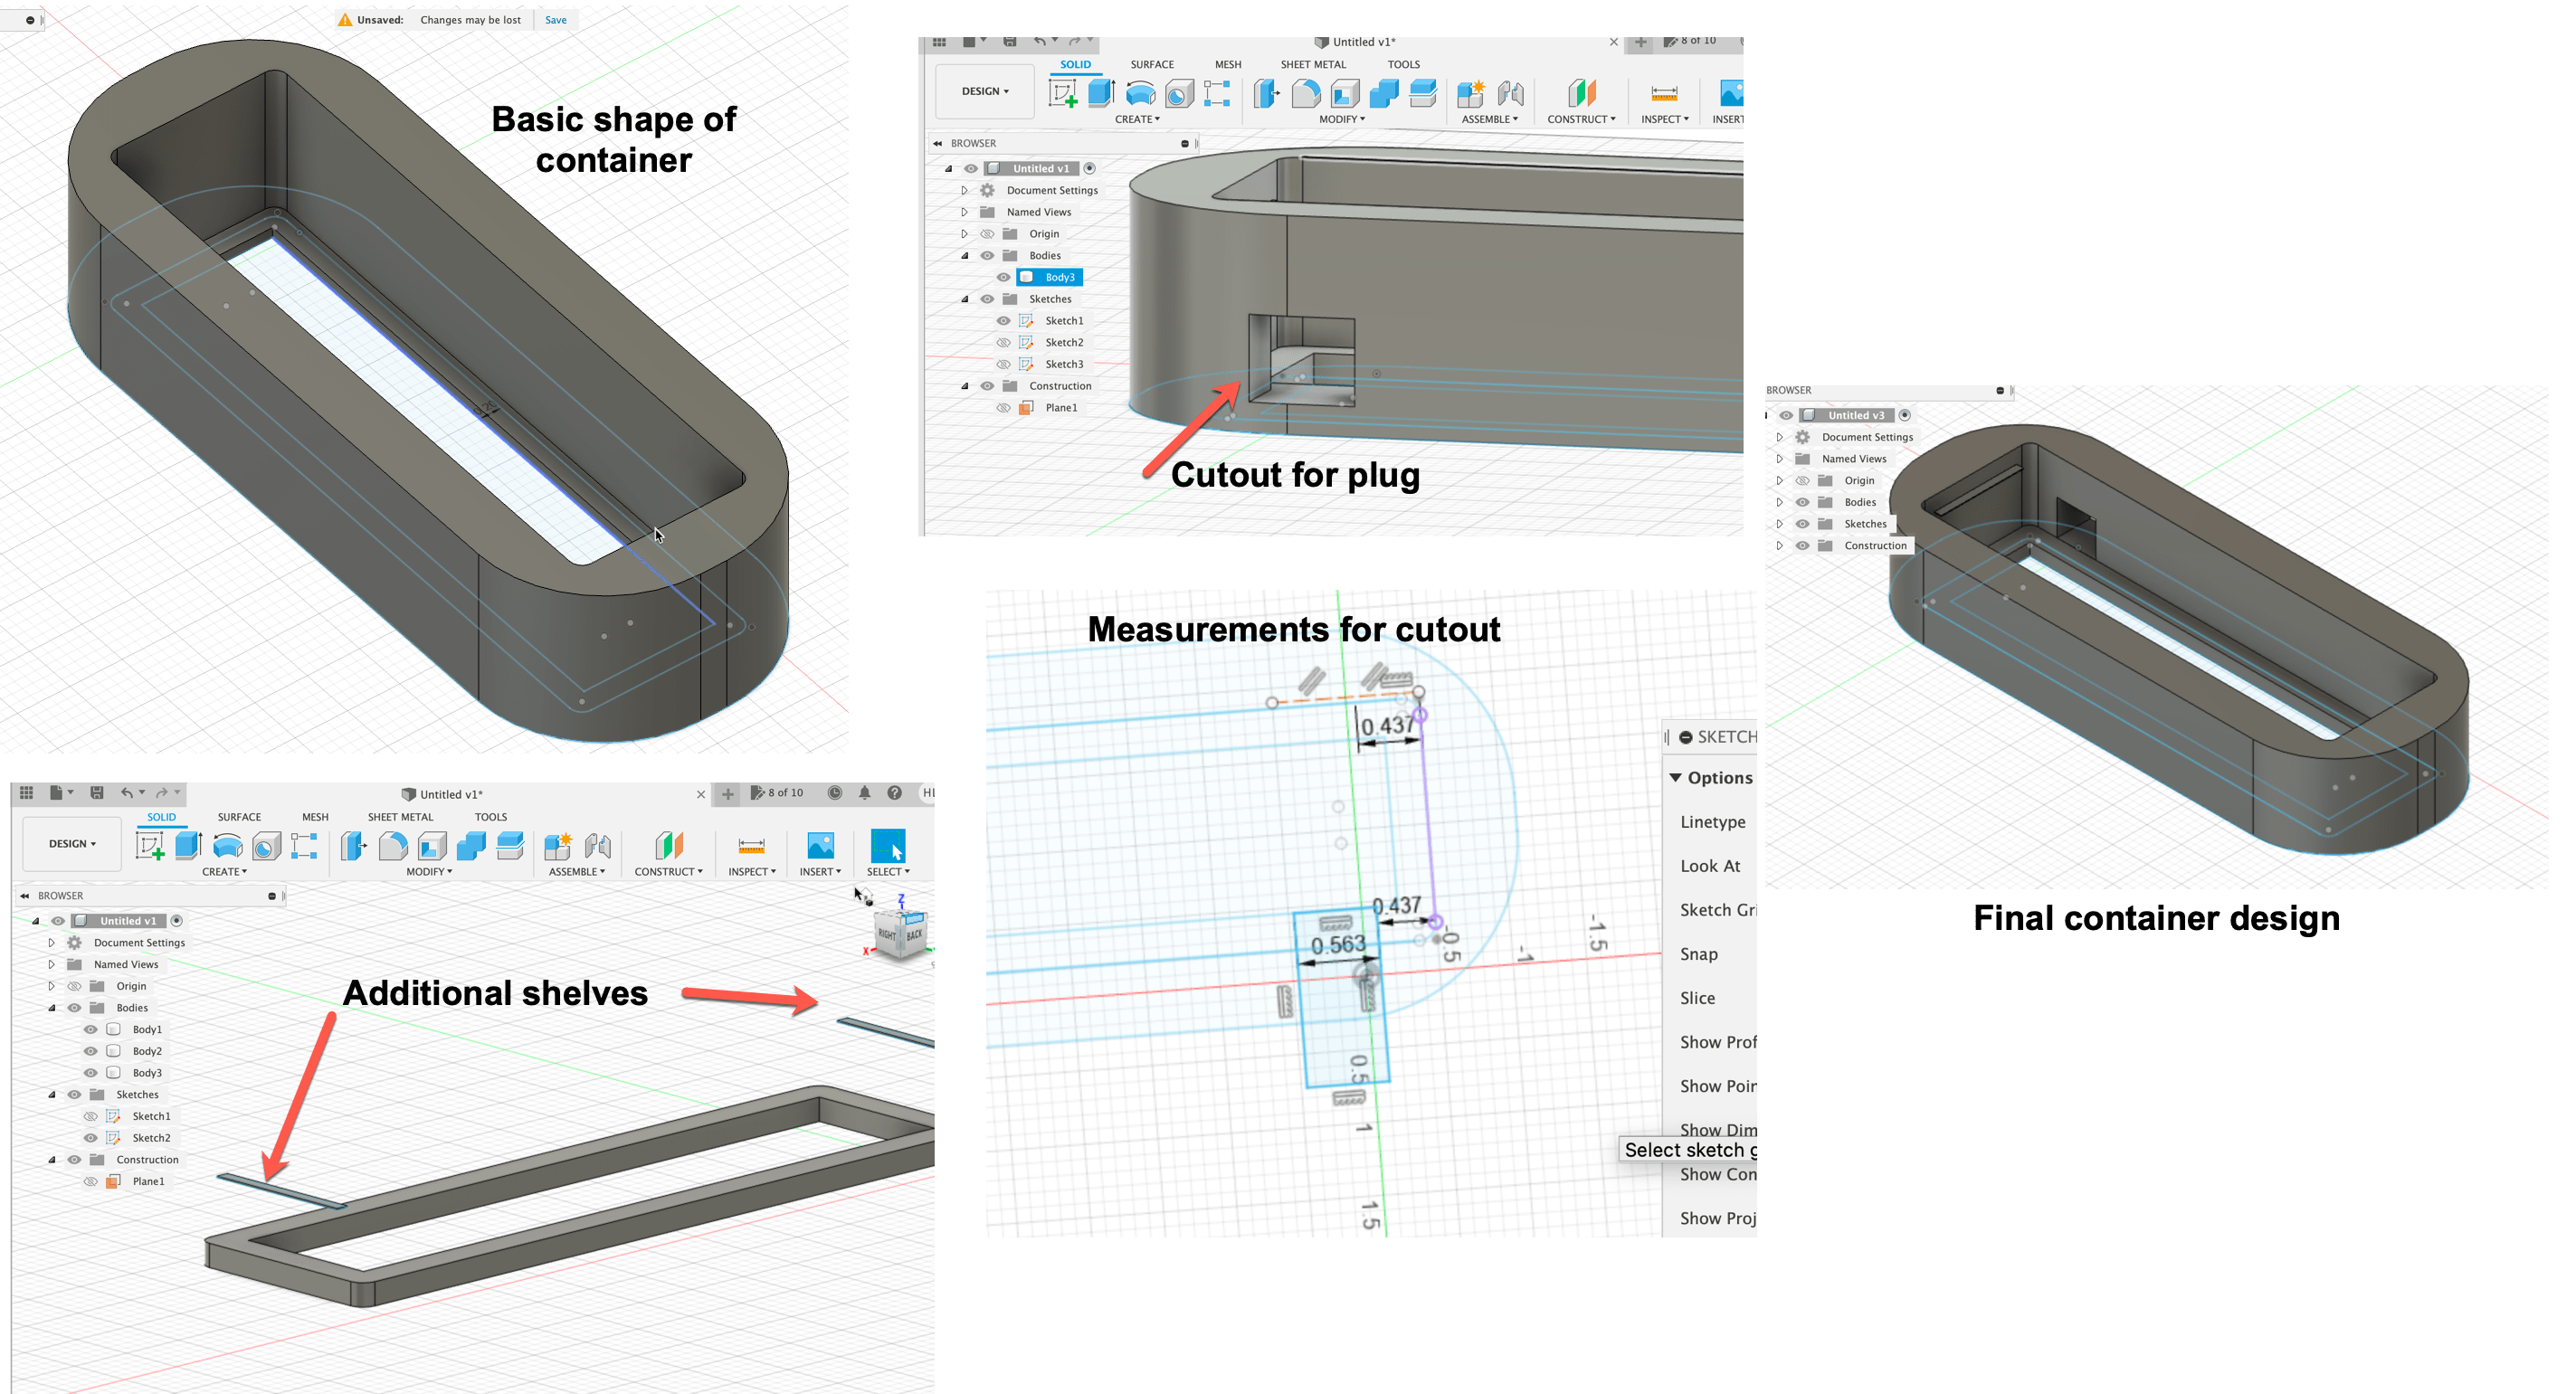
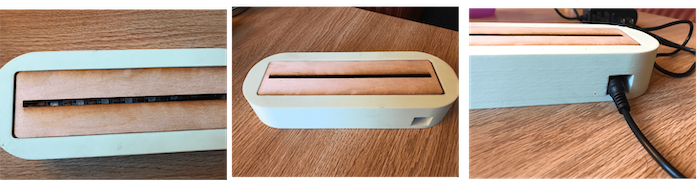
The trickiest part (besides the sautering) of this project was designing the container to hold all of the components. I took measurements based on the three wooden cutouts and electronic components that all had to fit in the box, and created a model in Fusion360. I planned to use a big shelf on the bottom to keep the bottom wooden component from falling through, then a few smaller shelves on each edge to hold up the middle and top.
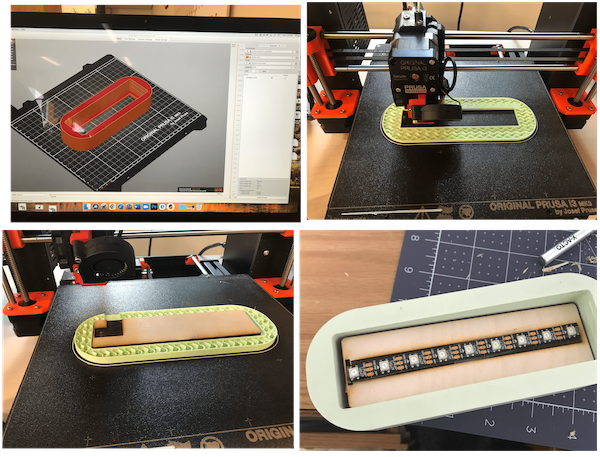
I printed my container using a Prusa MK3S. I was super lucky that my design held the container on the first try. I periodically paused the print to make sure the wooden components fit.
After creating all the pieces, it was time to put them all together! It was a tight fit, especially for the top piece, but I managed to secure it. I plugged the cord into the back through the opening, and placed the acrylic sign in the slot. Finally, I was able to plug my sign into an outlet and was delighted that after all the fiddling to get the circuit in the containter, it still worked!
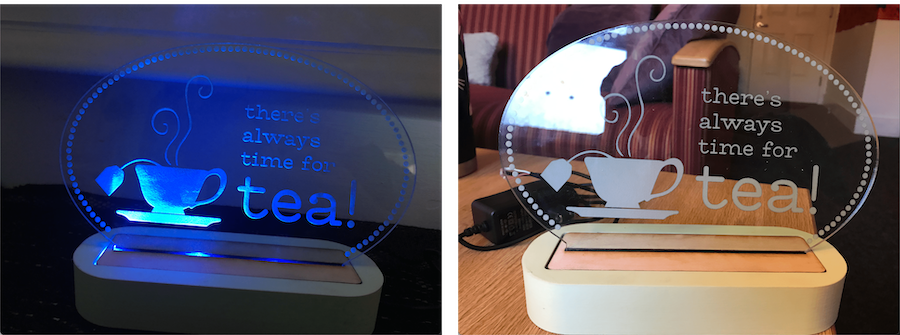
This project was a lot of work, but the finished product was worth it! The electronics training was very frustrating, but everything else was very manageable. The shelves on my container for some reason did not print, but luckily the upper wooden piece fit very snuggly and was held up without shelves. I was also super excited to see that there was biodegradable PLA in the Fiber Lab! And in such a pretty color!